
New Jersey homeowners face a unique combination of weather patterns and building styles that make mold a recurring challenge. From coastal storms and humid summers to older basements and tight, energy-efficient homes, moisture often lingers where it should not. This comprehensive guide explains how to evaluate, remove, and prevent mold safely and effectively. It outlines tools, techniques, and decision points so you can choose what to tackle yourself and when to call in help. To build a strong foundation, we begin with the basics of mold removal and why a stepwise plan is essential for long-term success.
While no single article can diagnose every situation, you will learn a repeatable framework: address moisture, contain the area, remove contaminated materials, clean and disinfect, dry thoroughly, verify results, and build in prevention. These pillars apply to bathrooms, basements, kitchens, attics, and living spaces throughout the Garden State.
Understanding Mold: What It Is and Why It Spreads
Mold is a natural part of the environment, thriving on cellulose and dust wherever moisture is present. Household materials—drywall paper, wood, cardboard, carpet backing—provide ample food. Airborne spores seek damp surfaces, and poor ventilation or elevated humidity accelerates colonization. In New Jersey, molds take hold after storms, plumbing leaks, shower overuse without exhaust, and seasonal condensation.
Health effects vary, but many people experience irritation of eyes, nose, throat, and lungs. Those with asthma or allergies are especially vulnerable. Minimizing exposure during cleanup and preventing regrowth are key to protecting your family’s well-being.
Initial Assessment and Planning
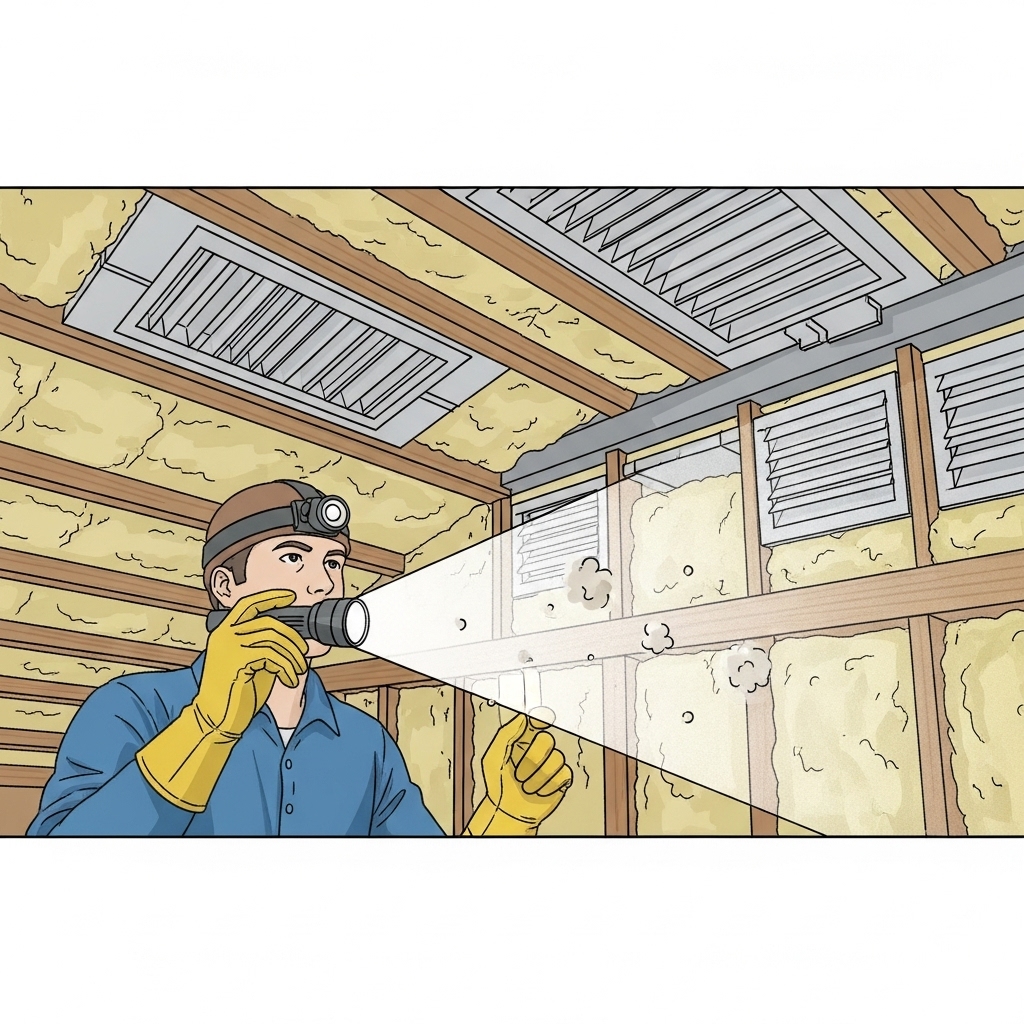
Before you remove anything, define the scope. Locate the moisture source—roof leak, plumbing failure, groundwater seepage, or indoor humidity. Consider the history of the space: has it flooded, suffered ice dams, or experienced standing condensation? Document conditions with photos and make notes of odors, stains, and soft or swollen building materials.
List the rooms involved and estimate square footage. Assess whether the HVAC system may be impacted. Choose a disposal route for debris that avoids clean living areas. Decide what you can safely accomplish and where professional assistance may be warranted. Planning makes execution smoother and reduces the chance of cross-contamination.
Essential Safety Measures
Use personal protective equipment to reduce exposure: a fitted respirator (N95 or better), gloves, eye protection, and disposable or washable coveralls. Keep children, pets, and vulnerable individuals away from the work zone. Avoid dry-scrubbing and uncontrolled demolition, which propel spores into the air. Turn off HVAC serving the area, and tape off registers within the workspace.
Ventilation must be deliberate. If possible, create negative pressure by exhausting air to the outdoors through a window. This pulls air into the containment area rather than letting spores escape into hallways and bedrooms. Maintain a clean donning and doffing process at the entry.
Containment Setup
Containment is your protective barrier. Use plastic sheeting to seal doorways, vents, and pass-throughs. For larger jobs, create a zipper door to ease access while preserving the seal. Protect floors with plastic or rosin paper. Keep tools and cleaning materials in the work zone, minimizing trips in and out that might track debris.
Consider a two-stage containment for significant projects: a dirty zone where demolition occurs and a buffer zone for bagging debris and removing PPE. This simple addition dramatically reduces spread.
Demolition and Removal
Porous materials with visible mold or water damage often need removal. Common examples include drywall, insulation, ceiling tiles, carpet, and carpet padding. When cutting drywall, go 12–24 inches beyond visible staining to ensure clean edges. Avoid snapping dry panels, which release dust—cut cleanly and place materials directly into heavy-duty bags. Wipe bag exteriors before leaving containment.
Non-porous and semi-porous materials may be cleaned if structurally sound. Framing lumber, subfloors, and sheathing usually fall into this category. Stained wood can be carefully abraded, then HEPA vacuumed and disinfected. Keep work damp to limit particle release.
Cleaning: Mechanical and Chemical
Think of cleaning as a two-step process: remove debris, then neutralize residue. First, HEPA vacuum all surfaces—studs, subfloors, sheathing, and nearby fixtures. Next, wash non-porous and semi-porous surfaces with a non-ammonia detergent. Rinse as directed and allow to dry slightly. Finally, apply an EPA-registered disinfectant, keeping surfaces wet for the full contact time.
Avoid relying on scent as a success measure; a fresh smell is not proof of cleanliness. Instead, rely on visual inspection, dust reduction, and moisture verification. If a section continues to stain or smell musty after thorough cleaning, re-evaluate whether removal is warranted.
Drying Strategy and Humidity Targets
Drying is the bridge between removal and prevention. Use a properly sized dehumidifier and position air movers to sweep across damp surfaces. Check progress daily with a hygrometer and, ideally, a moisture meter. Aim for 30–50% relative humidity and bring wood and drywall back to typical moisture content before rebuilding. In basements, continuous dehumidification during summer months is often necessary.
Prevent condensation by insulating cold surfaces and improving airflow. In winter, monitor window condensation and address under-insulated rim joists, which often collect moisture and feed hidden mold behind finished basement walls.
Decision Points: DIY or Professional Help?
Scope, complexity, and health sensitivity drive the choice. Small, isolated areas are manageable for many homeowners with proper protection and patience. Multi-room contamination, HVAC involvement, or recurring growth signals the need for expert assistance. If uncertainty persists at mid-project, schedule a consultation. Some homeowners undertake demolition and drying, then bring in specialists for final cleaning and verification, including clearance testing.
When the job grows beyond your comfort level, consider engaging professional mold removal to establish robust containment, ensure thorough cleaning, and document results for peace of mind or future real estate transactions.
Room-Specific Guidance
Basements: Address exterior drainage first—clean gutters, extend downspouts, regrade as needed. Inside, seal cracks, add a sump system if groundwater is chronic, and commit to ongoing dehumidification. Avoid wall-to-wall carpet, and store belongings in sealed bins elevated off the floor.
Bathrooms: Upgrade exhaust fans and use timers to run them after showers. Replace failing caulk, use backer board in wet zones, and squeegee shower walls to remove standing moisture. Keep vanity cabinets dry and inspect supply lines for slow leaks.
Kitchens: Vent range hoods outdoors, not into attics or back into the room. Check dishwasher and refrigerator water lines for seepage. Keep areas beneath sinks organized to spot drips early.
Attics: Verify that bathroom fans vent outside, not into the attic. Balance soffit intake with ridge exhaust and ensure insulation does not block airflow. Address roof leaks promptly to prevent sheathing damage and hidden mold.
Rebuilding with Resilience
After clearance and moisture normalization, choose materials that resist future problems. In bathrooms, select moisture-resistant drywall or cement board for wet walls. Use mold-resistant paints as appropriate. In basements, consider breathable wall systems that allow drying toward the interior, and avoid finishes that trap moisture against foundation walls.
During rebuild, improve access to critical areas—install access panels for valves and traps and leave room around mechanicals. These practical choices make inspections and future maintenance easier.
Maintenance and Prevention Routine
- Keep indoor humidity between 30–50% year-round.
- Respond to leaks and spills immediately; dry within 24–48 hours.
- Clean exhaust fan grilles and verify airflow quarterly.
- Service gutters and downspouts each season.
- Inspect under sinks, around toilets, and behind appliances monthly.
- Replace shower liners and re-caulk as needed to prevent seepage.
- Schedule seasonal basement checks after heavy rain or snowmelt.
Frequently Asked Questions
How large an area can I handle myself? Many homeowners manage small, isolated patches. When contamination spans multiple rooms, involves ductwork, or keeps returning, it is safer and more efficient to bring in specialists.
Do I need testing before removal? Not always. If you see visible mold and know the moisture source, removal and repair are the priorities. Testing can be helpful for documentation or when the source is unclear.
Will painting with mold-resistant paint solve the problem? Paint is not a solution for active growth. Only apply coatings after proper removal and drying. Mold-resistant paints can help prevent surface colonization on clean, dry substrates.
How do I keep basements dry in summer? Run a dehumidifier continuously, seal obvious cracks, improve grading, and ensure downspouts discharge away from the foundation. Avoid carpeting and use raised storage.
What about odors that linger after cleaning? Persistent musty odors often indicate residual moisture or hidden contamination. Re-check moisture levels, inspect concealed spaces, and consider additional removal if needed.
Take the Next Step Toward a Healthier Home
Clear a path to a mold-free home by addressing moisture, applying structured containment and cleaning, and building better ventilation and materials into your space. If you prefer expert guidance from start to finish, connect with trusted mold removal professionals who can help you reclaim your home with confidence.