
Introduction
If you are just starting to learn about mold in your New Jersey home, you are not alone. Between humid summers, storm-driven leaks, and older basements, many households encounter musty odors and discoloration on walls, ceilings, or contents. This beginner-friendly guide explains what mold needs to grow, how to find and fix moisture sources, and how to perform safe, effective cleaning. It also points out when to call for backup so you do not feel overwhelmed. Right from the start, remember that successful mold removal is really about moisture control plus careful cleaning and drying. With a clear plan and basic tools, you can make real progress quickly and keep your home healthier year-round.
Beginners often worry that any mold means catastrophe. In many cases, small areas are manageable with common-sense steps, patience, and good ventilation. The key is to act methodically, avoid spreading spores, and watch humidity so the problem does not return. The sections below break down tasks into approachable steps suitable for apartments, condos, and single-family homes across the Garden State.
Mold Basics in Plain Language
Mold is a natural organism that feeds on organic materials such as paper, wood, and dust. It thrives when surfaces stay damp for more than a day or two. That means leaks, spills, and condensation are its best friends. In a typical New Jersey summer, warm outdoor air enters a cool basement, hits cold surfaces, and leaves moisture behind. In winter, bathroom steam condenses on chilly walls. Both create opportunities for growth if air does not move and areas do not dry.
While mold comes in many colors, you should focus less on color and more on the conditions. Musty smell? Visible spots that enlarge? Condensation on windows? These clues tell you to search for moisture sources and plan a cleanup. If the area is small and the materials are not badly damaged, you can likely handle it with basic safety gear and a few tools.
Beginner Safety and Setup
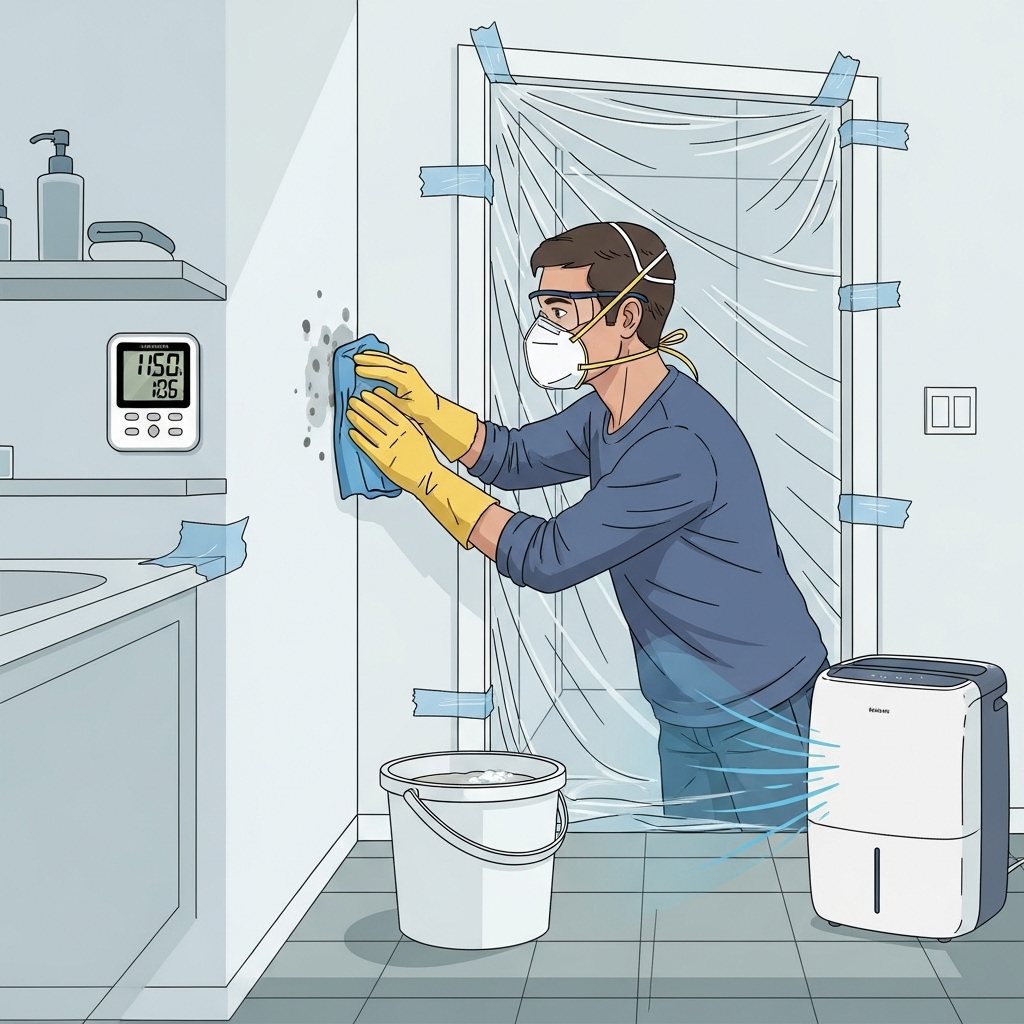
Safety first. Wear gloves, protective glasses, and a particulate respirator. Keep children, pets, and anyone with respiratory issues out of the work area. If you expect to produce dust or remove drywall, consider disposable coveralls and a better respirator. Open windows when weather permits and set up a small containment using plastic sheeting if you are cleaning more than a tiny patch.
Gather simple supplies: heavy-duty trash bags, a HEPA vacuum, microfiber cloths or disposable wipes, a mild detergent, white vinegar, a bucket, a scrub brush, painter’s tape, and a dehumidifier if you have one. A hygrometer (to check humidity) and a moisture meter (to compare wet and dry readings) are helpful and inexpensive.
Find the Moisture First
Check the obvious places: beneath sinks, behind toilets, around tubs, under refrigerators with icemakers, and near washing machines. Look at basement corners after heavy rain, around window sills, and at the base of exterior doors. Examine attic sheathing if you had ice dams or poor ventilation in winter. For each suspect area, ask: why is it wet, and how can I keep it dry in the future?
Outside, walk the perimeter. Are gutters clogged? Do downspouts discharge next to the foundation? Is the soil graded toward the house? Simple exterior fixes often make the biggest difference, especially in older New Jersey neighborhoods where landscaping has settled over time.
Cleaning Steps for Small Areas
-
Isolate the area. Close doors and, if needed, hang plastic to block openings. Turn off fans that blow across rooms; you do not want to scatter dust.
-
Put on PPE. Gloves, eyewear, and a respirator are your minimum. Keep a clean area outside the workspace where you can remove gloves and wash hands.
-
Remove porous items that smell musty or show spots. Cardboard boxes, damp area rugs, moldy ceiling tiles, and wet insulation are better discarded. Bag items immediately and carry them outside.
-
HEPA vacuum surfaces gently. This step removes dust and spores, making wet cleaning more effective. Vacuum edges, corners, and surfaces above head height where dust settles.
-
Wet clean with a mild detergent solution. Apply to cloths and wipe from clean areas toward dirty ones. Avoid soaking materials; the goal is to lift residue, not saturate surfaces.
-
For light staining on hard surfaces, a vinegar solution can help. Do a small test first. Wipe again with clean water and dry thoroughly.
-
Dry the area with controlled airflow. Run a dehumidifier and use fans to promote even drying. Keep windows closed during humid weather so you are not adding moisture.
-
Re-check after 24–48 hours. Odors should fade, and surfaces should look clean. If the material is damaged, crumbly, or still damp, plan for removal and replacement.
Beginner Mistakes to Avoid
- Do not start scrubbing before fixing leaks or drying sources.
- Do not blast fans across dirty surfaces; you may spread spores.
- Do not paint over damp or dirty materials.
- Do not mix cleaning chemicals; stick to mild detergent and water.
- Do not assume basements will dry on their own in summer humidity.
Materials: Clean or Replace?
Porous materials like ceiling tiles, carpet pad, and insulation usually need removal once moldy. Drywall with small, isolated spots might clean up if the wall is dry and structurally sound, but larger areas typically require cutting out and replacing. Semi-porous materials such as wood studs and subfloor can often be cleaned if they are solid and can dry fully. Non-porous materials like metal, glass, and ceramic tile typically clean well with detergent and thorough drying.
When replacing materials, plan for prevention. In basements, keep drywall slightly off the floor, use washable baseboards, and avoid insulating with products that trap moisture against cool walls. In bathrooms, use high-quality caulking and run the exhaust fan during and after showers.
Middle Milestone: Know When to Ask for Help
As you work, assess your progress. If the affected area is extensive, if you cannot locate the moisture source, or if odors persist despite cleaning and drying, consider professional mold removal. Experienced technicians can improve containment, set up powerful HEPA filtration, and suggest building improvements that stop recurring growth. This is especially helpful in homes with complex sources like hidden pipe leaks, foundation seepage, or poorly ventilated attics.
There is no shame in calling for backup; in fact, tackling the moisture fixes yourself and then partnering with a pro for heavy remediation can be a smart division of labor. Keep your notes and photos—they help professionals understand the history and focus their efforts quickly.
Moisture Control for New Jersey Conditions
Because summers are humid and winters can be cold and dry, aim for steady indoor humidity between 30% and 50%. Run a dehumidifier in basements and crawl spaces, especially from late spring through early fall. Use bath and kitchen exhaust fans every time you cook or shower. Check dryer vents for solid connections to the outdoors, and insulate cold water pipes to prevent condensation droplets that wet drywall or floors.
Outside, clear gutters seasonally, extend downspouts, and maintain grading. Replace weatherstripping on exterior doors where needed and seal gaps where utilities enter the home. Small improvements add up, reducing drafts in winter and moisture entry in stormy seasons.
Maintaining Clean, Dry Air
After cleaning, replace HVAC filters and consider running the system’s fan on “auto” rather than “on” to avoid continuous air movement that can stir dust. Dust and vacuum surfaces regularly with a HEPA filter to capture fine particles. Move furniture slightly away from exterior walls to keep air moving and to reduce cool spots where condensation forms. If closets smell musty, avoid overpacking and allow some airflow.
FAQ
Q: What size problem can a beginner handle? A: Small, localized areas on hard surfaces are good beginner projects. If multiple rooms are affected or materials are saturated, consider professional assistance.
Q: Is bleach necessary? A: No. Detergent, careful wiping, and drying are often sufficient. Focus on moisture control and safe techniques rather than strong chemicals.
Q: How quickly should I act after a leak? A: Within 24–48 hours. Rapid drying prevents most growth and saves materials from replacement.
Q: Do dehumidifiers really help? A: Yes. In New Jersey’s humid months, a correctly sized and maintained dehumidifier can dramatically reduce musty odors and condensation.
Q: How can I tell if the job is done? A: Clean look, neutral smell, dry meter readings, and no visible dust or residue are good signs. Monitor humidity and check back over the next week.
Protect Your Home Today
You can make meaningful progress with a simple plan, patience, and attention to moisture. Start small, learn as you go, and do not hesitate to get expert backup if you hit a wall. When you want added confidence or faster results, professional mold removal can complement your efforts and help keep your New Jersey home clean, dry, and comfortable.