Introduction: A Practical Path to a Mold-Free Bloomfield Home
When you uncover mold in your Bloomfield, New Jersey home, the best way to regain control is to follow a clear, step-by-step plan. Mold thrives where moisture lingers, and the remedy is both technical and methodical. This guide lays out each step from first discovery through verification, reconstruction, and prevention so you can visualize the work, ask informed questions, and participate effectively. While some small, contained areas may be addressed by a capable homeowner, the larger or hidden problems common in basements, bathrooms, and attics benefit from professional-grade containment, HEPA filtration, and detailed cleaning that define modern mold remediation.
Think of this as your roadmap. You will learn how to prepare the space, what happens during demolition, how crews sequence cleaning, why moisture diagnostics matter more than any single product, and what a good closeout looks like. With an organized plan, remediation becomes less intimidating and far more effective.
Step 1: Confirm the Problem and Stabilize Moisture
Once you notice discoloration, musty odors, or persistent dampness, start by stabilizing moisture. Shut off active leaks, place a bucket under drips, and increase ventilation. In basements, run a dehumidifier and note the relative humidity. If recent weather brought heavy rain, inspect downspouts and ensure discharge flows away from the foundation. Photograph affected areas before making changes—those images will help professionals and, if needed, insurers understand the progression.
- Note when you first observed the issue and any relevant events (storm, appliance failure).
- List affected rooms and surfaces, including hidden spots like under sinks or behind furniture.
- Avoid aggressive cleaning that could aerosolize spores before containment is in place.
Step 2: Schedule a Professional Assessment
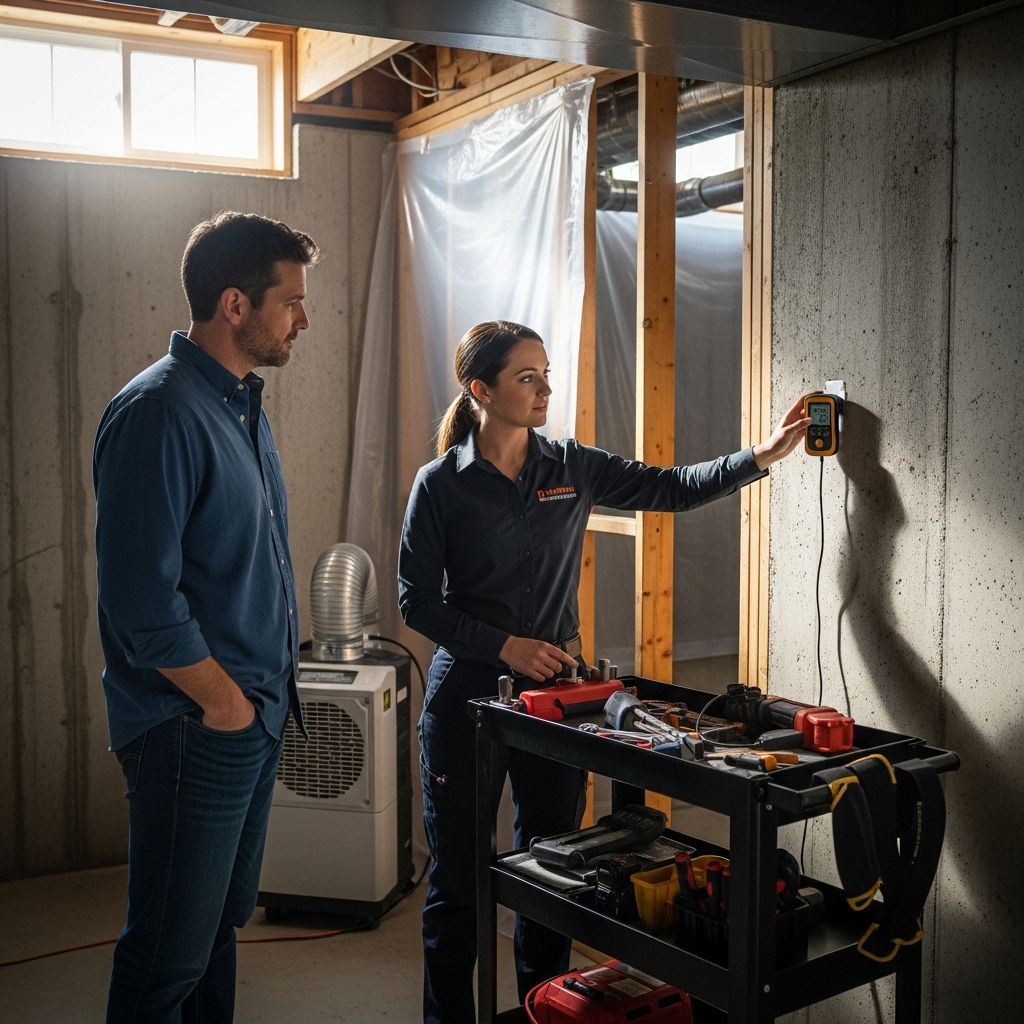
An experienced evaluator will use moisture meters, infrared imaging, and visual clues to define the scope. The assessment aims to pinpoint the moisture source and map all affected materials. For example, a seemingly isolated corner may actually involve a larger wall cavity fed by a flashing leak. A thoughtful plan includes containment design, personal protective gear, equipment selection, and whether independent testing or third-party clearance is appropriate for your project.
Step 3: Prepare the Work Area and Household
Before activity ramps up, preparation reduces stress and protects belongings. Remove small valuables, create clear pathways for equipment, and relocate items stored directly on basement floors. Discuss daily schedules so crews can align their work with your family’s routines, and secure pets away from the work zone. If the containment will cover HVAC returns or block bathrooms, plan alternatives in advance.
- Set expectations for noise and access hours.
- Identify a point person for decisions and updates.
- Ask about product sensitivities to align cleaning solutions with your preferences.
Step 4: Build Containment and Establish Negative Air
Containment keeps dust and spores from spreading. Technicians install poly sheeting, zipper doors, and floor protection, then set up HEPA-filtered negative air machines to direct airflow out of the work zone. Vents inside containment are sealed, and pressure is checked to verify direction. Clean-to-dirty travel paths are planned to minimize cross-contamination. Signage marks boundaries so family members can steer clear during active work.
Step 5: Perform Controlled Demolition
Porous materials supporting growth—such as drywall, insulation, and some ceiling tiles—are carefully removed. Crews score seams to reduce dust, bag debris, and pass waste through a decontamination chamber. When mold is suspected behind finishes, test cuts or selective openings confirm the extent. If cabinets, vanities, or baseboards must be detached, they are handled carefully and inspected from behind to catch hidden issues. Unanticipated findings, like an old pipe leak or foundation crack, are documented and addressed to ensure moisture control.
Step 6: Clean, HEPA Vacuum, and Apply Antimicrobials
After removal, technicians perform HEPA vacuuming to capture fine particles, followed by detergent wiping of hard and semi-porous surfaces. Some projects benefit from a second vacuuming cycle after surfaces dry. Antimicrobial applications are used where appropriate to support hygienic conditions, always according to product directions. The objective is removal, not simply “killing” mold; clean, dry materials do not support growth and are the desired end state.
Step 7: Dry the Structure and Verify Moisture Targets
Drying is essential. Dehumidifiers and air movers run until wood, subfloors, and framing reach acceptable moisture content. Technicians record readings and adjust equipment as conditions change. In basements, special attention is placed on slab edges and rim joists where condensation can recur. Humidity targets typically range from 30 to 50 percent indoors, depending on season and comfort. Drying is not rushed; it is the hinge on which long-term success swings.
Step 8: Visual Inspection and, If Needed, Third-Party Clearance
After cleaning and drying, a visual inspection confirms that surfaces are free of dust and visible growth. Where a clearance protocol is part of the plan, an independent professional conducts visual checks and may perform air or surface sampling. Failing areas are remediated again, then re-verified. Homeowners receive photos and, where applicable, clearance documentation to close out the remediation phase.
Step 9: Rebuild with Moisture-Savvy Materials and Practices
With remediation complete, reconstruction installs new finishes. In bathrooms, moisture-resistant drywall with proper tile backer and ventilation upgrades are worth the investment. In basements, consider insulated rim joists, continuous dehumidification, and storage solutions that elevate belongings off the slab. Paint and flooring selections can support durability, but the most important factor remains controlling moisture through drainage, ventilation, and monitoring.
Step 10: Long-Term Prevention and Maintenance
Prevention is the final step. Establish routines that keep the environment dry: service gutters, extend downspouts, monitor humidity, and use bath and kitchen exhausts that vent outdoors. Clean spills quickly and investigate unexplained odors promptly. Keep furniture slightly off exterior walls to encourage air circulation, and use washable rugs in potentially damp areas instead of wall-to-wall carpeting.
- Check the basement dehumidifier weekly during humid months.
- Inspect around sinks, toilets, and appliances each month for slow leaks.
- Schedule roof and gutter maintenance at least twice a year.
- Replace HVAC filters regularly to support air quality.
- Log any moisture events and responses to spot patterns early.
Practical Tips for Bloomfield’s Climate and Housing
Bloomfield experiences hot, humid summers and cold winters that drive condensation on uninsulated surfaces. Attic ventilation, vapor control strategies, and air sealing at rim joists are particularly important. Older homes may contain plaster over lathe, which can mask moisture migration until stains appear; careful probing during assessment helps define the true scope. Finished basements often have paneling or drywall directly against foundation walls, which can trap moisture—rebuild designs should include insulating strategies that manage dew point and allow inspection access.
Signs That Call for Professional Remediation
Call in professionals when the area of visible mold is significant, when you detect widespread musty odors, when symptoms persist despite DIY cleaning, or when the suspected source involves structural components or hidden cavities. Vulnerable occupants—young children, elderly adults, or people with respiratory conditions—are another reason to elevate to a professional plan. At this scale, specialized containment and HEPA filtration are critical to prevent the issue from spreading to clean rooms. For these cases, discuss options for professional mold remediation that align with industry practices.
What Homeowners Can Expect Day by Day
Day 1 typically involves assessment confirmation, containment build-out, and equipment setup. Day 2–3 may focus on selective demolition and waste removal. The middle days see detailed cleaning, HEPA vacuuming, and antimicrobial applications, followed by focused drying with daily moisture readings. Near the end, crews perform touch-up cleaning, verify dryness, and prepare the space for either clearance or rebuild. Communication checkpoints occur daily to adjust the plan as new information emerges.
Documentation You Should Receive
Expect before-and-after photos, a containment plan description, moisture logs, equipment usage records, and, where applicable, third-party clearance results. These documents serve as proof of proper handling, useful for your records or potential property transactions. Detailed documentation also helps you maintain prevention practices because you can trace conditions and solutions over time.
Frequently Asked Questions
Q: How long will the remediation take? A: Small, single-room jobs can take a few days; larger, multi-room projects may extend to one or two weeks, plus time for reconstruction after clearance.
Q: Is testing required? A: Not in every case. Testing is valuable for complex projects or where clearance is part of the protocol. A thorough visual inspection and moisture mapping remain the core tools.
Q: Can I stay in my home during the work? A: Often yes, staying out of the containment area. Discuss sensitive individuals and pets with your contractor to decide whether temporary relocation from nearby spaces is advisable during demolition.
Q: Will cleaning products leave strong odors? A: Many modern detergents and antimicrobials are low-odor. Share sensitivities beforehand so product choices can be tailored to your preferences.
Q: What prevents mold from coming back? A: Moisture control. Fix leaks, manage humidity, and maintain ventilation. Remediation removes existing contamination; prevention practices keep conditions unfavorable for new growth.
Q: Should I repaint stained wood immediately? A: Only after cleaning and drying meet targets. In some cases, an approved encapsulant may be used following remediation, but paint is not a substitute for removal.
Final Checks Before You Rebuild
Before starting reconstruction, verify three items: moisture readings show dry materials, the visual inspection is clear of dust and growth, and the moisture source is controlled with a documented fix. If any of these are uncertain, pause and resolve them now. Rebuild on a dry, clean foundation to avoid repeating the process months later.
Take the Next Step
When you want a smooth, professional experience from assessment through prevention, choose experienced mold remediation services that prioritize containment, HEPA filtration, and moisture control. With a clear plan and consistent communication, your Bloomfield home can move from discovery to durable restoration with confidence.

