
If you have discovered a damp odor in the basement, discoloration on a bathroom ceiling, or suspicious spots near a window frame, a precise, step-by-step plan will help you remove mold safely and prevent it from coming back. This guide is tailored to Bloomfield, New Jersey homeowners and focuses on practical actions you can take today. It also explains when to enlist experts and how to verify that the job is truly complete. If you want an experienced partner from the beginning, consider working with a trusted mold removal provider who can help you navigate containment, cleaning, drying, and long-term prevention.
The steps below move from identification and moisture control to containment, removal, drying, validation, and prevention. Follow them in order, but stay flexible—real homes contain surprises behind walls and under floors. The strength of a good process is that it adapts without sacrificing safety or thoroughness.
Step 1: Confirm the Signs and Scope
Begin with a slow, careful inspection. Look for visible growth, water stains, bubbling paint, or warped trim. Use your nose—musty odor is an early warning of hidden moisture. Map the affected area with photos and notes. Pay attention to where flooring meets exterior walls in basements, under sinks, behind washing machines, and around tubs and showers.
Step 2: Find and Control the Moisture Source
No removal plan succeeds without moisture control. Investigate exterior drainage, gutters, and downspouts. Verify that downspouts extend well away from the foundation and that soil grading directs water outward. Indoors, check for plumbing drips, loose supply connections, and condensation on cold surfaces. In bathrooms, run exhaust fans during and after showers. In basements, operate a dehumidifier during humid spells to maintain comfortable humidity levels.
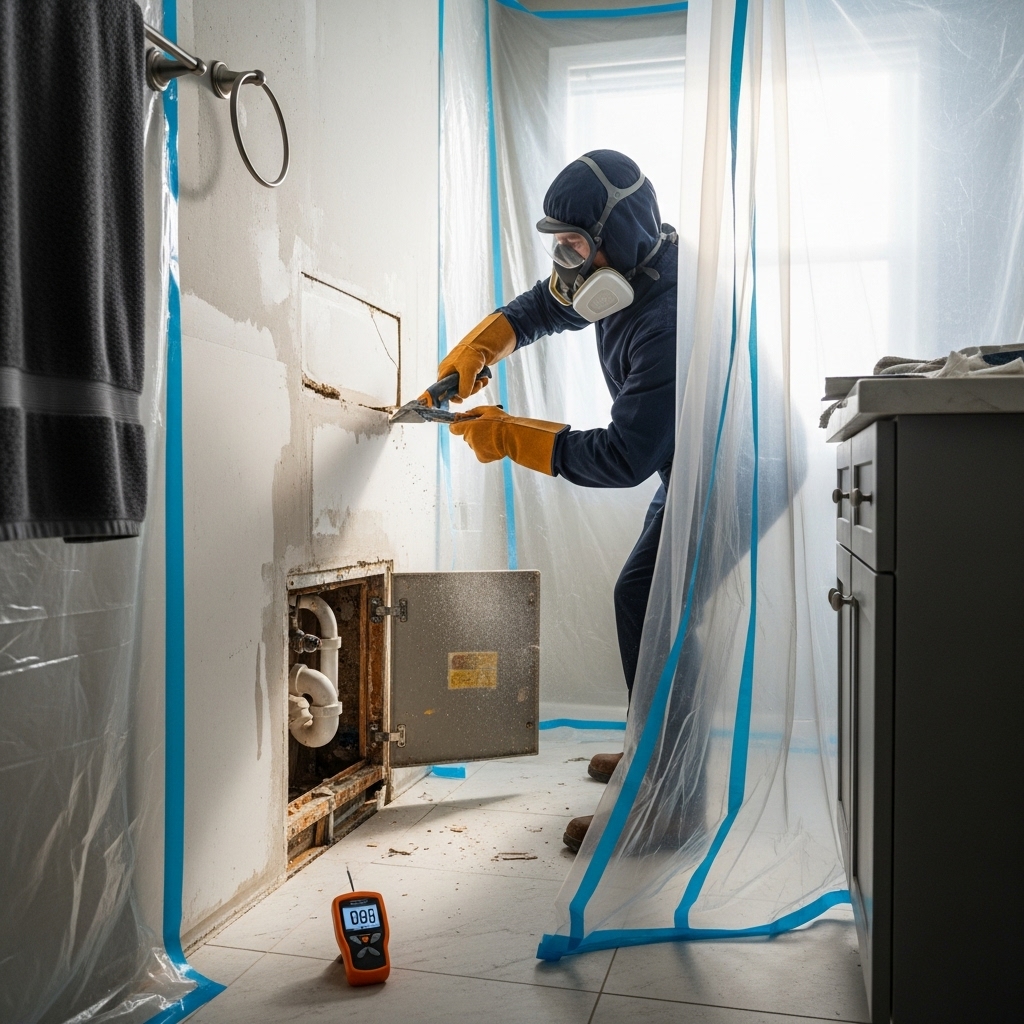
Step 3: Plan Containment
Containment prevents spores from traveling to clean rooms. Close doors to the affected space and cover supply and return vents. If you will be removing materials, use plastic sheeting to isolate the work area and place a mat or tray at the exit to capture debris from shoes. Consider generating airflow that moves out of a window instead of into the rest of the house.
Step 4: Choose Personal Protective Equipment
Wear gloves, eye protection, and a suitable respirator whenever you disturb materials. If dust or debris is expected, add disposable coveralls. Set up a simple doffing routine so used gear does not migrate into living areas.
Step 5: Remove Unsalvageable Materials
Porous items like carpet, pad, and damp drywall are usually best removed. Cut drywall to a clean, straight line beyond staining and bag it immediately. Remove wet insulation. If cabinets are affected from a leak beneath a sink, inspect the underside and back panel; sometimes removal is the fastest path to thorough drying and cleaning.
Step 6: Clean Salvageable Surfaces
Vacuum surfaces with suitable filtration to capture fine particles and debris. Follow with damp wiping and appropriate cleaning agents. Work from clean to dirty areas and replace wipes frequently. For tile and sealed concrete, methodical scrubbing followed by thorough drying is effective. For wood framing with superficial impact, careful cleaning and extended drying often restores it without replacement.
Step 7: Drying and Dehumidification
Drying completes the job of removal by returning materials to normal moisture levels. Use dehumidifiers to maintain a stable indoor range and deploy airflow that moves across wet surfaces. Avoid high-speed blasts directly into contaminated zones; instead, focus on controlled, consistent air movement. Monitor conditions over multiple days. In basements, keep a dehumidifier running during humid months, and avoid installing wall-to-wall carpet in areas with a history of dampness.
Step 8: Inspect Adjacent Areas
After removal and initial drying, inspect rooms or cavities next to the original problem. Look inside wall bays near plumbing penetrations, behind trim, under stair landings, and around window frames. Catching secondary damp spots now prevents recurrence later.
Step 9: Verify the Result
Visual cleanliness, lack of musty odor, and stable humidity are the key indicators. If conditions remain questionable, consider a professional assessment for added assurance. A short delay to confirm success is better than rebuilding prematurely and trapping moisture behind fresh finishes.
Step 10: Rebuild with Moisture-Smart Materials
Use mold-resistant drywall or backer boards in moisture-prone rooms. Reseal penetrations at tubs, showers, and sink bases. In basements, prefer area rugs to carpeting and consider raised subfloor systems that allow airflow. Reinstall trim only when you are confident materials are dry and the moisture source has been permanently controlled.
Special Considerations for Bloomfield Homes
- Basements: Watch for seepage along foundation walls after heavy rain. Extend downspouts and check grading around the home.
- Bathrooms: Use a timer on the exhaust fan so it runs after showers. Reseal grout and caulk regularly to keep water out of wall assemblies.
- Attics: Verify that bath vents discharge outdoors and that soffit vents are unobstructed to reduce condensation during cold months.
- Windows: Monitor older frames for condensation and refresh weatherstripping and seals as needed.
Common Pitfalls and How to Avoid Them
- Painting over growth: This only hides the problem temporarily and can lead to peeling and discoloration.
- Ignoring hidden spaces: Voids behind walls or cabinets often hold residual moisture. Inspect before rebuilding.
- Insufficient drying: Ending dehumidification too early can allow a rebound in humidity and recurring odor.
- Poor containment: Blowing fans into the room or leaving doors open can spread particles to other parts of the home.
When to Call in Help
Seek expert assistance for large or complex projects, contamination near HVAC returns, recurring problems with unknown causes, or if household members are sensitive to allergens. Experienced teams have the equipment and protocols to protect clean rooms, track down hidden moisture, and perform thorough cleaning at scale.
Mid-Project Course Corrections
It is normal to find surprises once demolition begins—a slow plumbing leak behind a vanity, wet insulation around a vent stack, or minor seepage at a foundation joint. When the situation expands, update your containment, prioritize the moisture fix, and adjust drying plans accordingly. For peace of mind and speed, many homeowners turn to mold removal specialists midstream to verify steps and finish the job efficiently.
Maintenance Routine After Remediation
- Ventilate properly: Use bath and kitchen exhaust fans and confirm they discharge outdoors.
- Control humidity: In warm, humid months, run a dehumidifier in basements or areas with limited airflow.
- Inspect plumbing: Check under sinks, behind toilets, and around appliances for slow leaks.
- Protect the exterior: Keep gutters clear and extend downspouts away from the foundation.
- Choose smart finishes: In moisture-prone rooms, use materials that resist absorption and clean easily.
- Clean regularly: Reduce dust buildup that can serve as a food source.
Frequently Asked Questions
How fast should I act after finding mold? Address it promptly. Early action makes containment simpler and reduces the risk of spreading to other rooms.
Do I need to test the mold species? Not necessarily. Effective remediation focuses on removing contamination and moisture regardless of type. Testing can add clarity in special cases or for documentation.
Can I keep drywall that is only slightly stained? If the material is sound and dry after the moisture source is eliminated, cleaning may be enough. If it remains musty or soft, replacement is prudent.
What if the odor remains after cleaning? Persistent odor usually signals lingering moisture or residues in hidden areas. Reinspect cavities and continue dehumidification until conditions stabilize.
Will mold come back in winter? It can, especially in poorly ventilated rooms where warm, moist air condenses on cold surfaces. Maintain ventilation and watch for condensation on windows and exterior walls.
Restore and Move Forward with Confidence
You can reclaim your home’s comfort and air quality by following a methodical process that tackles moisture, containment, cleaning, and prevention. When you are ready for extra support or want a professional to verify your progress, request experienced mold removal help and get back to enjoying a clean, dry, and healthy space in Bloomfield.