
A thorough checklist brings order and clarity to what can feel like a stressful situation: discovering mold in your Bloomfield, New Jersey home. Because mold thrives wherever moisture lingers, a successful plan must include source control, safe removal, proper drying, and verification. Whether you are dealing with a damp basement after a summer storm or attic staining from winter condensation, the steps below will help you manage the process methodically. If you would like an experienced team to handle the details for you, many homeowners start by contacting reputable mold removal services that follow proven remediation protocols.
Phase 1: Confirm Moisture and Map the Affected Areas
- Identify all damp zones with moisture meters or by careful inspection of stains, soft drywall, or warped trim.
- Look for the source: roof leaks, plumbing drips, foundation seepage, or condensation issues.
- Check nearby rooms and levels. Water travels—what you see may be only part of the picture.
- Document with photos and notes. This will guide repairs and help in any insurance conversations.
Phase 2: Plan the Work and Communicate
- Define what is removal versus cleaning. Porous materials with significant growth are usually removed.
- Set goals for humidity and temperature during the project to speed drying.
- Decide who will be in the home during work and how to limit traffic through the area.
- Create a schedule that allows for containment setup, demolition, drying, cleaning, and verification.
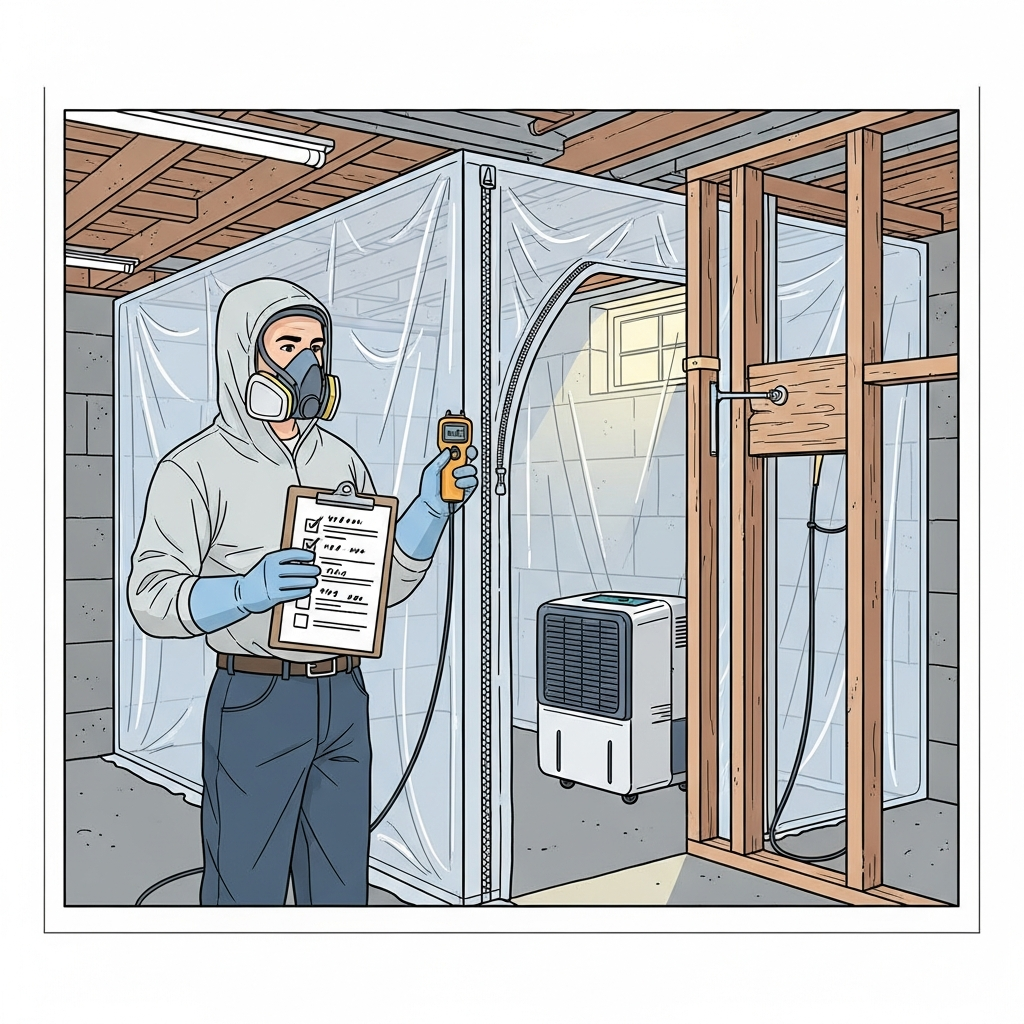
Phase 3: Set Up Containment and Protect the Home
- Isolate the work area with plastic sheeting and zipper doors.
- Seal nearby HVAC registers and returns in the affected zone.
- Use negative air pressure and HEPA filtration when appropriate to capture particles.
- Lay down protective floor coverings along the path of travel to avoid tracking dust.
Phase 4: Source Control and Immediate Repairs
- Address the moisture source first: fix leaks, redirect downspouts, or improve ventilation.
- Check for additional hidden moisture after the initial opening of walls or ceilings.
- Set up dehumidifiers to maintain targeted humidity during the project.
Phase 5: Removal and Cleaning
- Remove damaged porous materials such as saturated drywall, insulation, carpet, and pads.
- Bag and dispose of debris carefully to prevent cross-contamination.
- HEPA vacuum remaining structural surfaces to capture settled spores and dust.
- Clean non-porous materials with appropriate methods, working from clean to dirty zones.
- Repeat vacuuming and cleaning if necessary until surfaces are visibly clean.
Phase 6: Drying Strategy
- Use dehumidifiers and air movers to achieve target moisture levels.
- Monitor with moisture meters at regular intervals.
- Focus on hidden assemblies like sill plates, subfloors, and behind cabinets where airflow may be limited.
Phase 7: Verification
- Confirm that all materials have reached dry standards.
- Conduct a careful visual inspection for dust and debris.
- Consider third-party testing when appropriate for documentation or sensitive environments.
Phase 8: Prevention and Long-Term Control
- Maintain indoor relative humidity between 30 and 50 percent.
- Vent bathrooms and kitchens outdoors, and run fans long enough to clear moisture.
- Keep gutters and downspouts clean, and ensure grading slopes away from the foundation.
- In basements, use a dedicated dehumidifier sized to the square footage and typical summer humidity.
- In attics, verify balanced intake and exhaust ventilation to prevent condensation on roof sheathing.
Bloomfield-Focused Considerations
Local housing varies from early-20th-century colonials to newer townhomes. Each presents unique risks. Older plaster walls and stone foundations can wick moisture, while newer tight construction may trap humidity without adequate ventilation. In winter, temperature differentials encourage condensation on cold surfaces. In summer, heavy rains and high dew points can saturate basements. A good checklist factors these realities into your plan.
As you move through the middle of your project, it is helpful to keep an authoritative reference close by so you can validate your steps—especially around containment, filtration, and disposal. Many homeowners in Essex County rely on guides from trusted professional mold removal resources that outline the sequence from source correction to post-remediation verification.
DIY vs. Professional: Deciding with Confidence
- Scope: If growth is widespread or in multiple rooms, professional help is recommended.
- Sensitivity: Households with infants, older adults, or respiratory conditions should minimize exposure risk.
- Hidden Damage: If walls feel soft, floors cup, or odors persist after cleaning, you may be dealing with trapped moisture.
- Time and Tools: Access to HEPA filtration, moisture meters, and containment supplies can determine whether DIY is practical.
Documentation You Should Keep
- Photos before, during, and after remediation.
- Moisture readings and humidity logs.
- Scope of work and materials removed, including locations and quantities.
- Verification results and any testing, if performed.
Frequently Asked Questions
Do I need to test first? Not always. If the source is known and growth is visible, remediation can proceed based on inspection and moisture findings. Testing is helpful in select situations for documentation or when the source is unclear.
How long should drying take? It varies by materials, temperature, and humidity. Many projects require several days of controlled drying to meet target levels.
Can I run a dehumidifier and fans during remediation? Yes, but airflow should be managed within containment. Uncontrolled airflow can spread dust.
Is painting a suitable final step? Paint is not a remediation tool. After proper cleaning and drying, priming and painting may be part of finishing work, but only on dry, clean surfaces.
What is the best way to prevent recurrence? Control moisture through ventilation, drainage, and timely repairs, and keep indoor humidity in the recommended range.
Move Forward with Confidence
If your checklist reveals a larger issue than expected, or you prefer seasoned guidance, choose a local team that respects your home and follows a verified process from start to finish. For timely help and clear documentation, reach out to reputable mold removal professionals and restore a healthy indoor environment.