
From First Call to Final Report: What to Expect from Mold Inspection and Testing
Whether you own a Cape in Monmouth County, a condo in Hudson County, or a ranch in Gloucester County, mold concerns in New Jersey often stem from seasonal humidity, coastal storms, or aging building materials. Understanding what happens during a professional inspection helps you prepare, ask the right questions, and use the results to protect your home. If you are ready to speak with a qualified team, you can start by exploring reputable mold inspection services and reviewing their process and deliverables.
A proper inspection is more than a glance at stains. It is a methodical evaluation of how your home manages water and air. Testing, when appropriate, supports the findings and helps build a clear, actionable plan.
Step 1: Intake and Scoping
The process begins with a conversation. The inspector asks about property age, history of leaks or floods, recent renovations, odors, and occupant concerns. Photos or notes you provide add context. From there, a preliminary scope is set, outlining likely areas of focus and whether sampling may be considered after the visual and moisture assessment.
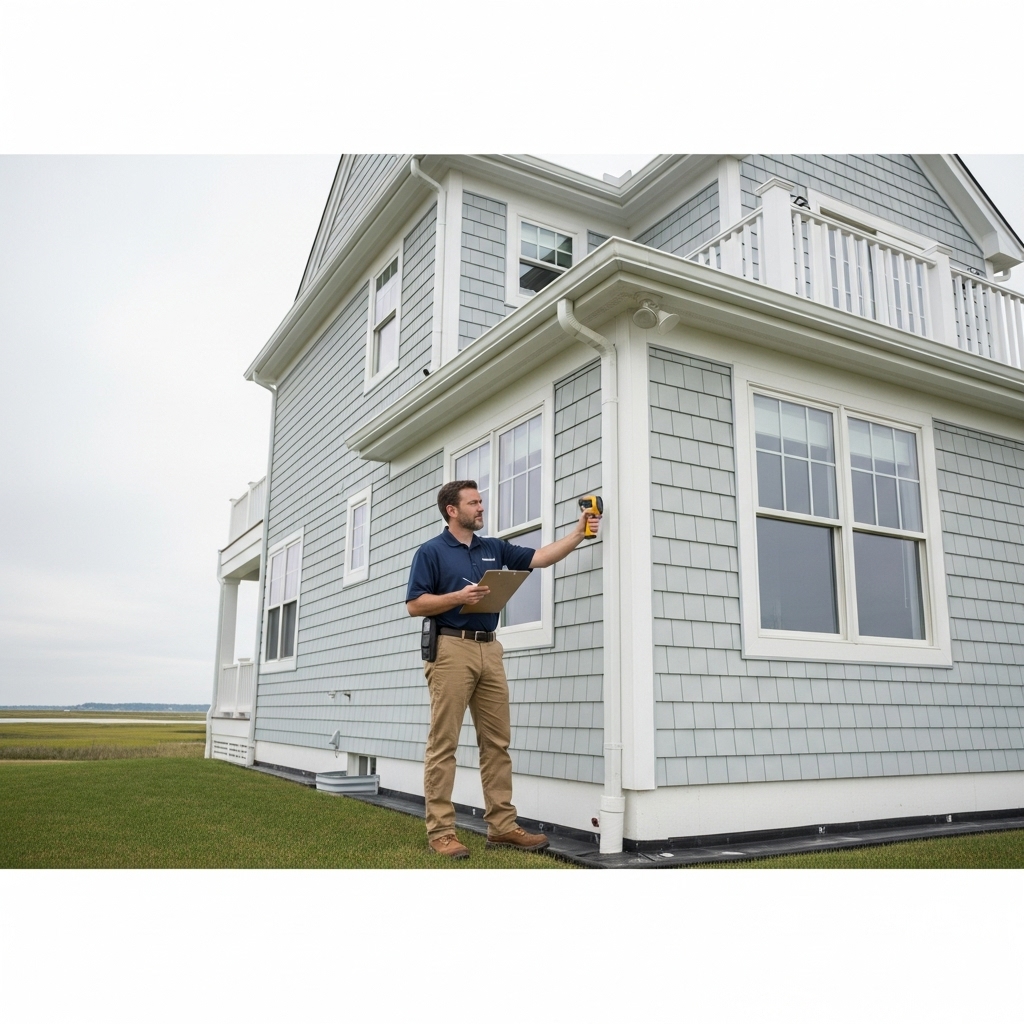
Step 2: Exterior Assessment
Because water drives mold, the exterior often explains interior symptoms. The inspector reviews grading, downspouts, siding details, roof edges, and wall penetrations. Signs of poor drainage, failed flashing, or deteriorated caulk point to entry pathways that must be addressed before mold will stop returning.
Step 3: Interior Visual Survey
Room by room, the inspector documents staining, bubbling paint, warped finishes, and musty odors. Basements and crawl spaces receive special attention in New Jersey due to high groundwater and seasonal humidity. Utility rooms, bathrooms, kitchens, and laundry areas are checked for active or past leaks.
Step 4: Moisture Mapping and Diagnostics
Handheld meters and, when appropriate, infrared scanners help locate damp materials and trace hidden moisture pathways. The goal is to map not only where mold may be present but also why conditions favor growth. HVAC systems are checked for cleanliness, filtration, and condensate management, since they influence indoor air quality and humidity.
Step 5: Deciding on Testing
Testing is useful when you need to compare indoor air to outdoor baselines, identify the types of mold on surfaces, confirm hidden problems, or document post-remediation results. The inspector explains the rationale, number of samples, and how results will be interpreted. Without thoughtful context, numbers alone can mislead.
Common Testing Methods
- Indoor and outdoor air samples to evaluate airborne spore types and relative concentrations.
- Surface tape or swab samples to identify mold present on materials.
- Wall-cavity air samples where hidden moisture is suspected behind finishes.
Step 6: Interpreting Lab Results
Laboratories report the genera found and their relative levels. The crucial step is integrating those results with moisture readings, visible evidence, and building conditions. A good report explains what the data means in plain language and what to do next to correct moisture and safely address mold-impacted materials.
Step 7: The Report and Action Plan
Expect a clear report with photos, location notes, moisture data, sampling rationale, and practical recommendations. The plan should address both source control—keeping water out and humidity balanced—and remediation steps. Post-remediation verification may be recommended to confirm success.
New Jersey-Specific Concerns
- Basement dampness from high groundwater and storm runoff
- Attic condensation due to ventilation imbalances and air leaks
- Wind-driven rain at the shore and in exposed locations
- Older masonry and stucco details that require careful flashing
How Long the Process Takes
Time on site varies based on size and complexity. A compact unit with a single concern may be relatively quick, while a multi-story home with hidden moisture issues takes longer. If testing is performed, factor in lab turnaround for the final report.
Your Role as the Homeowner
- Share a concise history of leaks, storms, odors, and prior repairs.
- Ensure access to attics, crawl spaces, utility rooms, and under sinks.
- Refrain from masking odors immediately before the visit so the inspector can assess typical conditions.
- Prepare questions about next steps, timelines, and verification.
Common Misconceptions About Testing
- “Every inspection needs testing.” Not necessarily; testing is targeted to answer specific questions.
- “Numbers alone tell the story.” Context matters; moisture and building conditions drive interpretation.
- “DIY kits are enough.” Without a thorough assessment, DIY results can be misleading.
What a Great Inspector Communicates
- Why the suspected moisture pathway exists and how to correct it
- Which materials are affected and how to address them safely
- When to use containment and what verification looks like
- How to prevent recurrence through ventilation and maintenance
Mid-Process Decisions and Flexibility
Inspections sometimes reveal surprises: a hidden leak behind a shower, condensation on ducts, or an unsealed attic hatch. The inspector should explain how the scope shifts and whether additional sampling is warranted. If you would like a second opinion on methodology, you can compare approaches described by established mold inspection services before finalizing decisions.
After the Report: Moving from Findings to Action
Once you have the report, prioritize moisture control first. Fix leaks, improve drainage, and balance ventilation. Then address mold-impacted materials using methods appropriate to the extent of damage and the location. In many cases, porous materials with significant growth are removed, while non-porous surfaces may be cleaned and verified. Your report should outline recommended containment and cleaning methods along with safety considerations.
Verification and Ongoing Prevention
Post-remediation verification often includes a visual check for cleanliness, moisture readings to confirm dry conditions, and targeted testing if appropriate. Prevention is ongoing: maintain gutters and downspouts, use bath and kitchen fans, keep indoor humidity in a healthy range, and respond quickly to water events.
Frequently Asked Questions
Q: Do I need to leave the home during testing?
A: Usually no. Normal occupancy is often preferred to reflect typical conditions unless the inspector advises otherwise for safety or accuracy.
Q: Will the inspection identify the exact mold species?
A: Lab analysis typically reports genera and sometimes species, but the key is understanding whether conditions support growth and how to correct them.
Q: Can one elevated room affect the whole house?
A: Yes, especially with open floor plans or HVAC circulation. The inspection should evaluate airflow patterns and returns/supplies.
Q: What if moisture is seasonal?
A: Document timing and weather conditions. The inspector can adapt the plan, and controls like dehumidification or air sealing may target the seasonal drivers.
Q: Is attic staining always an emergency?
A: Not necessarily. It may reflect past condensation. The solution often lies in ventilation balance and air sealing rather than aggressive interior remediation.
Confidence from a Clear Process
The value of inspection and testing lies in clarity—why problems exist, what to do now, and how to keep them from returning. For homeowners ready to take the next step, schedule with trusted mold inspection services and get a report that supports confident decisions and long-term prevention.