
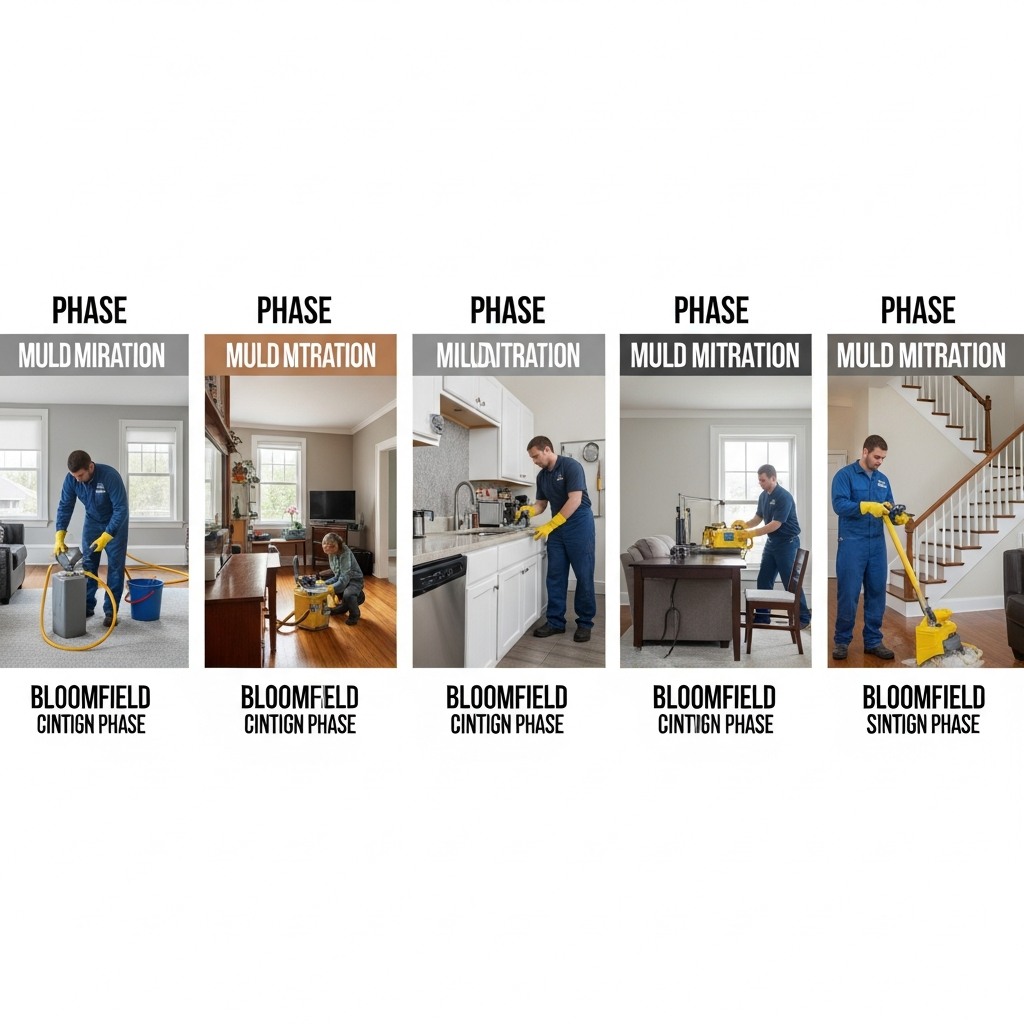
Time is a critical factor in mold control. The sooner a structured plan begins, the fewer materials are affected and the easier it is to protect clean rooms. For Bloomfield, New Jersey homeowners, understanding the steps and likely timeline of professional mold mitigation will help you prepare, set realistic expectations, and verify quality as work progresses. This guide breaks down the process into clear phases—from first inspection through final verification—so you know what should happen and when.
Even when growth seems minor, hidden moisture can sustain colonies out of sight. Experienced professionals delivering comprehensive mold mitigation services rely on a repeatable sequence: assessment, containment, negative air, selective removal, meticulous cleaning, moisture correction, and verification. Each phase has specific goals and checkpoints you can track. By following the sequence below, you can anticipate activity, plan household routines, and ensure the end result is durable—not just cosmetically improved.
Phase 1: Initial assessment and planning
The project begins with a structured evaluation. Technicians document visible growth or staining, map moisture with calibrated meters, and identify likely sources—plumbing, seepage, condensation, or roof leaks. They may employ thermal imaging or borescope cameras for minimally invasive views inside cavities. The outcome is a written plan describing the work areas, protective measures, demolition scope, cleaning methods, drying targets, and responsible individuals. You should also receive guidance on immediate actions to stabilize humidity while awaiting setup.
Phase 2: Site preparation and protection
Before containment goes up, crews protect traffic routes with floor coverings and remove or shield nearby items. They identify electrical circuits for equipment, evaluate HVAC isolation needs, and set up a clean staging area for tools. Clear labeling and daily housekeeping routines are established so the home remains organized during work.
Phase 3: Containment build and negative pressure
Containment is the backbone of mitigation. Using 6‑mil poly, tape, and zipper doors, teams create sealed work zones sized to the affected area plus a suitable safety margin. Penetrations around outlets or fixtures are sealed. A negative pressure environment is created with HEPA‑filtered machines exhausting to a safe location. Manometers or smoke tests verify pressure direction and integrity. This step prevents cross‑contamination and keeps particles flowing into filtration rather than into clean rooms.
Phase 4: Selective demolition
With containment stabilized, unsalvageable porous materials are removed: water‑stained drywall, carpet and pad, swollen baseboards, and any insulation that has been saturated or colonized. Removal extends beyond visible discoloration to a clean, dry margin. Debris is bagged in the containment and sealed before transport to prevent tracking. Structural members are exposed for cleaning and drying, and photos document conditions before and after removal.
Phase 5: Cleaning and surface preparation
Cleaning focuses on physically removing contamination residues. Crews HEPA‑vacuum surfaces, then wet‑wipe with appropriate agents, and repeat HEPA vacuuming after drying. Semi‑porous framing may be sanded or media‑abraded to remove embedded growth. The space is cleaned in stages to capture particles that resettle as airflow patterns change. Equipment filters are monitored and replaced as needed to maintain performance.
Phase 6: Moisture correction and drying
Mitigation is incomplete without moisture control. Dehumidifiers reduce ambient humidity, and a controlled number of air movers may be used to support evaporation without pushing dust into clean zones. Teams set target moisture levels for wood and drywall and confirm progress with calibrated meters. They also recommend source corrections—improved ventilation for bathrooms, exterior grading changes, sealing foundation penetrations, or insulating cold pipes—to reduce condensation and seepage risks.
Phase 7: Verification and optional testing
Verification includes a clean visual inspection, moisture readings at or below targets, and confirmation that containment has prevented cross‑contamination. If independent testing is part of your plan, sampling occurs after final cleaning and equipment run time. Reports—photos, readings, and any third‑party results—are compiled into a closeout package you can keep for records and future maintenance.
Typical timeline for Bloomfield homes
- Day 1: Assessment confirmation, site protection, containment build, negative air setup.
- Day 2: Selective demolition and initial cleaning.
- Day 3: Drying support, detail cleaning, and HEPA vacuuming.
- Day 4: Final cleaning, verification, and removal of containment.
- Day 5+: Equipment run‑out or adjustments as needed to stabilize humidity and confirm dryness.
Factors that can extend the schedule
- Discovery of additional wet areas behind finishes or in adjacent rooms.
- Slow‑drying materials due to low temperatures or high humidity.
- Limited electrical circuits or access constraints in multi‑unit buildings.
- Need for exterior drainage or ventilation improvements that must precede verification.
Homeowner preparation checklist
- Clear personal items from affected rooms and along access paths.
- Plan for pet care and limit access to work zones.
- Discuss chemical sensitivities with the provider so products can be selected appropriately.
- Identify parking and power access to streamline setup.
- Coordinate schedules if temporary relocation is preferred during demolition.
How providers manage quality during each phase
Quality control is built into the sequence. Technicians record containment measurements, negative pressure readings, and filter changes. They capture photos before demolition, after material removal, and after final cleaning. Moisture readings are logged daily at consistent locations. Any deviations—such as unexpected wet framing—are documented and communicated with recommended actions. This disciplined approach keeps the project on track and transparent.
Communication milestones you should expect
- Containment complete and pressure verified.
- Demolition complete with photos of clean margins.
- Drying targets met with readings.
- Final cleaning complete and verification ready.
- Closeout documentation delivered with maintenance guidance.
Bloomfield‑specific scheduling tips
Weather affects drying. In humid summers, dehumidification demand rises; in cold winters, condensation risks increase on uninsulated surfaces. Top providers plan equipment capacity accordingly and may adjust schedules to ensure stable conditions before final verification. If your home has a stone or block foundation, expect additional attention to air sealing and dehumidification due to wicking potential.
Common mistakes that delay completion
- Skipping negative air or under‑sizing HEPA filtration, allowing dust to resettle.
- Rushing to rebuild before moisture targets are confirmed.
- Ignoring ventilation fixes that are necessary for long‑term success.
- Failing to coordinate testing timelines with final cleaning and airflow stabilization.
Frequently Asked Questions
Q: Can I stay in my home during mitigation?
A: Many homeowners do, thanks to robust containment and negative pressure. However, those with respiratory sensitivities may prefer to be away during demolition and detail cleaning. Your provider can tailor schedules to minimize disruption.
Q: How loud is the equipment?
A: HEPA air scrubbers and dehumidifiers produce noticeable white noise. Crews often place machines to reduce disturbance and may use longer duct runs when feasible while maintaining airflow performance.
Q: Do I need testing before and after work?
A: Not always, but independent testing can add assurance for sensitive occupants or documentation needs. Coordinate with your provider so samples reflect steady conditions and final cleanliness.
Q: What if mold returns after mitigation?
A: Recurrence usually indicates persistent moisture. Review ventilation, humidity control, and exterior water management. A strong provider will help trace sources and recommend practical prevention steps.
Q: When can rebuilding begin?
A: Only after moisture targets are verified and final cleaning is complete. Rebuilding too soon can trap moisture and set the stage for a repeat problem.
From plan to peace of mind
Understanding the sequence of professional mitigation empowers you to ask the right questions, prepare effectively, and evaluate progress at each milestone. With clear steps, consistent measurements, and moisture‑focused aftercare, your home can transition from musty and uncertain to clean, dry, and predictable.
Make your timeline work for you
If you are ready to follow a proven sequence from assessment to verification, connect with a trusted local team for structured mold mitigation services. With disciplined containment, precise drying targets, and transparent communication, you can safeguard your Bloomfield home and restore healthy air with confidence.