
Mold Remediation Process Steps in Bloomfield, New Jersey
When mold appears in your Bloomfield, New Jersey property, success hinges on following a disciplined, step-by-step process. A structured approach limits cross-contamination, resolves the moisture source, and documents the work so you can move forward confidently. Whether you are dealing with a damp basement, attic sheathing discoloration, or a bathroom leak that spread into adjacent rooms, a well-managed project shares the same foundation: careful assessment, engineered containment, targeted removal, thorough cleaning, controlled drying, and verification. If you want a clear roadmap and dependable results, professional mold remediation brings the procedures and equipment to restore stable indoor conditions.
Step 1: Intake and Initial Safety Measures
The process begins with listening. A qualified team asks about recent water events, odors, visible staining, and symptoms like peeling paint or buckling floors. They identify immediate safety issues—electrical hazards near wet areas, hidden structural concerns, or compromised ceilings—and advise on safe interim actions. If HVAC is drawing air from affected spaces, they may recommend changes until containment is in place. This early triage reduces risk while the plan is prepared.
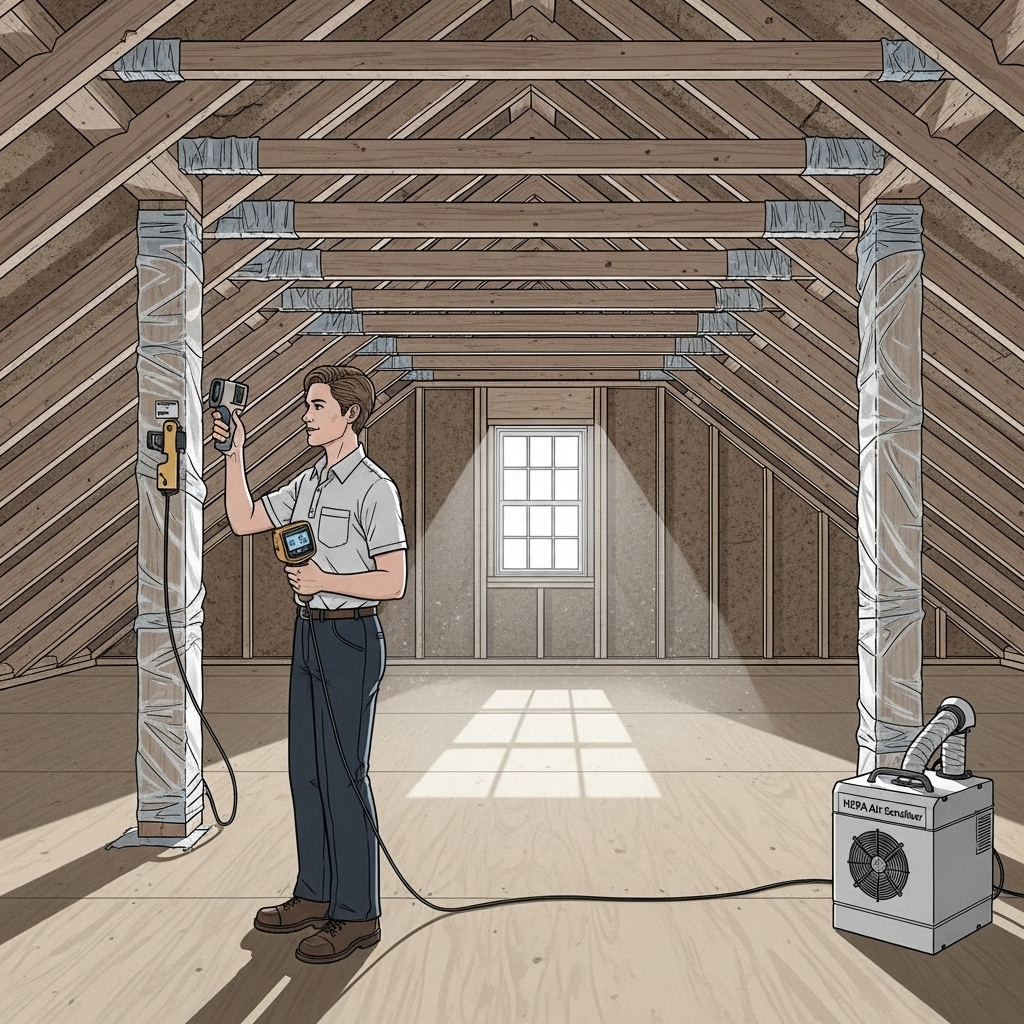
Step 2: Assessment and Moisture Mapping
Next comes a detailed inspection of the building envelope, finishes, and mechanical systems. Moisture meters, hygrometers, and thermal cameras help trace hidden dampness behind walls, under floors, and around windows. The goal is to understand where moisture entered, how far it spread, and which materials are salvageable. In certain cases, a third-party indoor environmental professional may conduct sampling to establish a baseline and later perform clearance testing. Either way, the assessment should produce a written scope that defines containment boundaries and removal versus cleaning decisions.
Step 3: Project Planning and Documentation
Professional planning sets expectations, timelines, and communication protocols. The company identifies a point of contact, prepares photo documentation, and outlines logistics such as parking, disposal, and access routes. Contents protection is also planned—bagging and boxing, HEPA vacuuming of items, or offsite storage when necessary. A well-documented plan ensures that your household or business experiences minimal disruption and that scope changes are justified and explained along the way.
Step 4: Engineering Controls and Containment
Containment prevents particles from migrating into clean spaces. Technicians install poly barriers, zipper doors, and vent seals, then establish negative pressure using HEPA-equipped air scrubbers vented appropriately. The layout may include a decontamination chamber to prevent tracking debris through the property. Pressure is monitored and adjusted as work progresses, maintaining an engineered environment that protects adjacent rooms. In multi-story homes, stairwells and shared corridors receive special attention.
Step 5: Controlled Demolition and Source Removal
Once containment is active, the team removes colonized porous materials like drywall and insulation within defined limits, working from clean to dirty areas. Cuts are precise to minimize unnecessary damage and facilitate reconstruction. Non-porous surfaces are cleaned using HEPA vacuuming and damp wiping techniques. Structural wood may be cleaned, sanded, or abraded as needed. Waste is bagged and sealed before leaving containment. Throughout, technicians collect photos and notes to document conditions and progress.
Step 6: Cleaning, HEPA Filtration, and Settled Dust Removal
Removal is only half the battle. Fine particles settle on nearby surfaces and contents. Thorough HEPA vacuuming and damp wiping capture residual debris, while air scrubbers continue to cycle contaminated air through HEPA filters to reduce airborne load. Cleaning follows a top-down approach, including walls, floors, trim, vents, and contents as specified in the scope. In some cases, soft goods may require specialized cleaning or laundering according to manufacturer recommendations.
Step 7: Drying and Humidity Control
Drying establishes stability. Dehumidifiers and air movers are deployed, and technicians monitor moisture readings until targets are achieved. Addressing water intrusion is nonnegotiable: repairs may involve plumbing fixes, roofing attention, exterior drainage improvements, or ventilation upgrades. Basements in Bloomfield often need dedicated dehumidification due to seasonal humidity swings. Your team should explain how to maintain healthy humidity to prevent future growth.
Step 8: Post-Remediation Verification
When the area is visibly clean and dry, third-party post-remediation verification may be conducted as agreed. This can include visual inspection, moisture confirmation, and, when indicated, sampling to evaluate cleanliness criteria. Clearance provides assurance that containment can be removed and reconstruction can proceed. Documentation is shared with you, summarizing work performed, equipment used, and recommendations for prevention.
Step 9: Reconstruction Readiness and Handover
After clearance, containment is carefully dismantled and the space is prepared for reconstruction. Edges of demolition are clean and straight, and remaining surfaces are dust-free. The remediation company hands off a packet of photos, readings, and maintenance guidance. If you are working with a general contractor or insurance carrier, these documents streamline the next phase.
Adapting the Process to Bloomfield Homes
Bloomfield’s housing mix ranges from early-20th-century homes with unique framing and plaster to modern builds with tighter envelopes. Attic remediation might require baffle installation and insulation adjustments; basement projects often demand grading or gutter improvements to control seepage. Understanding local patterns helps the team anticipate challenges and tailor containment, demolition limits, and drying strategies accordingly.
Common Mistakes to Avoid
- Skipping containment and spreading particles throughout the home.
- Cleaning visible growth without addressing the moisture source.
- Overlooking HVAC protection and duct cleanliness near the work zone.
- Insufficient drying time before reconstruction.
- Poor documentation that complicates insurance or resale questions later.
Homeowner Preparation Tips
- Clear access paths and move fragile items from work zones.
- Identify parking, disposal locations, and hours that suit your household.
- Share water event history and past repairs that might affect the plan.
- Set expectations for communication frequency and decision points.
Choosing a Team for the Job
Credentials, equipment, and communication style matter. Look for thorough scopes, strong containment plans, and clear strategies for moisture control. Ask about HEPA equipment, documentation practices, and how contents will be protected. A provider that explains each step in plain language is more likely to deliver a predictable, high-quality outcome with minimal disruption.
When you need a dependable plan and experienced technicians, turn to professionals who focus on mold remediation and understand the building realities of Bloomfield’s homes and businesses.
Frequently Asked Questions
Do I always need post-remediation testing? Not always. For simple, well-defined projects, visual and moisture confirmation may be sufficient. For large, complex, or sensitive environments, third-party verification adds valuable assurance and documentation.
Can I remain in my home during remediation? Often yes, with containment confining the work area. For significant projects or when sensitive individuals are present, temporary relocation may be recommended.
How long will the process take? Duration depends on area size, demolition scope, drying goals, and verification. Your provider should share a realistic schedule after assessment and update you as milestones are reached.
What about belongings in the affected area? Contents may be cleaned in place, relocated, or sent for specialized cleaning depending on material and exposure. The plan should specify how items are protected and handled.
Will mold return? If moisture control is maintained and the source is resolved, recurrence risk is significantly reduced. Ongoing humidity management and periodic inspections help keep conditions stable.
Move Forward with Confidence
A disciplined process is your best defense against future problems. By following clear steps—assessment, containment, removal, cleaning, drying, and verification—you secure a healthier indoor environment and a strong foundation for reconstruction. If you are ready to address mold with a proven method, schedule professional mold remediation and start your project with confidence.