
Mold Remediation Steps New Jersey Homeowners Should Know
When mold appears in a New Jersey home, it is tempting to grab a cleaner and scrub the visible spots. But effective remediation is a structured process that protects clean areas, targets moisture, and restores healthy indoor air. Understanding the steps—what happens, why it matters, and how long each stage can take—helps you choose a capable team and participate confidently in decisions. If you want a clear picture of a professional approach before you start, you can explore keyword to see how systematic methods produce reliable results.
New Jersey’s climate and housing mix magnify the importance of a stepwise plan. From basement seepage in older homes to attic condensation in winter and shore houses closed up in summer, mold problems are diverse. The sequence below explains what a thorough remediation generally includes and how these steps adapt to the complexities of local construction.
Step 1: Initial Conversation and Pre-Inspection Guidance
The process begins when you describe your concerns: odors, visible growth, recent leaks, or ongoing dampness. A professional will ask targeted questions—where the issue began, whether it changes with weather, and if there were prior repairs. You may receive instructions to reduce humidity, increase ventilation, or isolate items until the inspection. This preparation prevents conditions from worsening and helps the assessment be more accurate.
If vulnerable occupants are present, like young children or those with respiratory sensitivities, the company may suggest temporary adjustments to room usage until containment can be installed. Clear communication during this first step sets the tone for the entire project.
Step 2: On-Site Assessment and Moisture Mapping
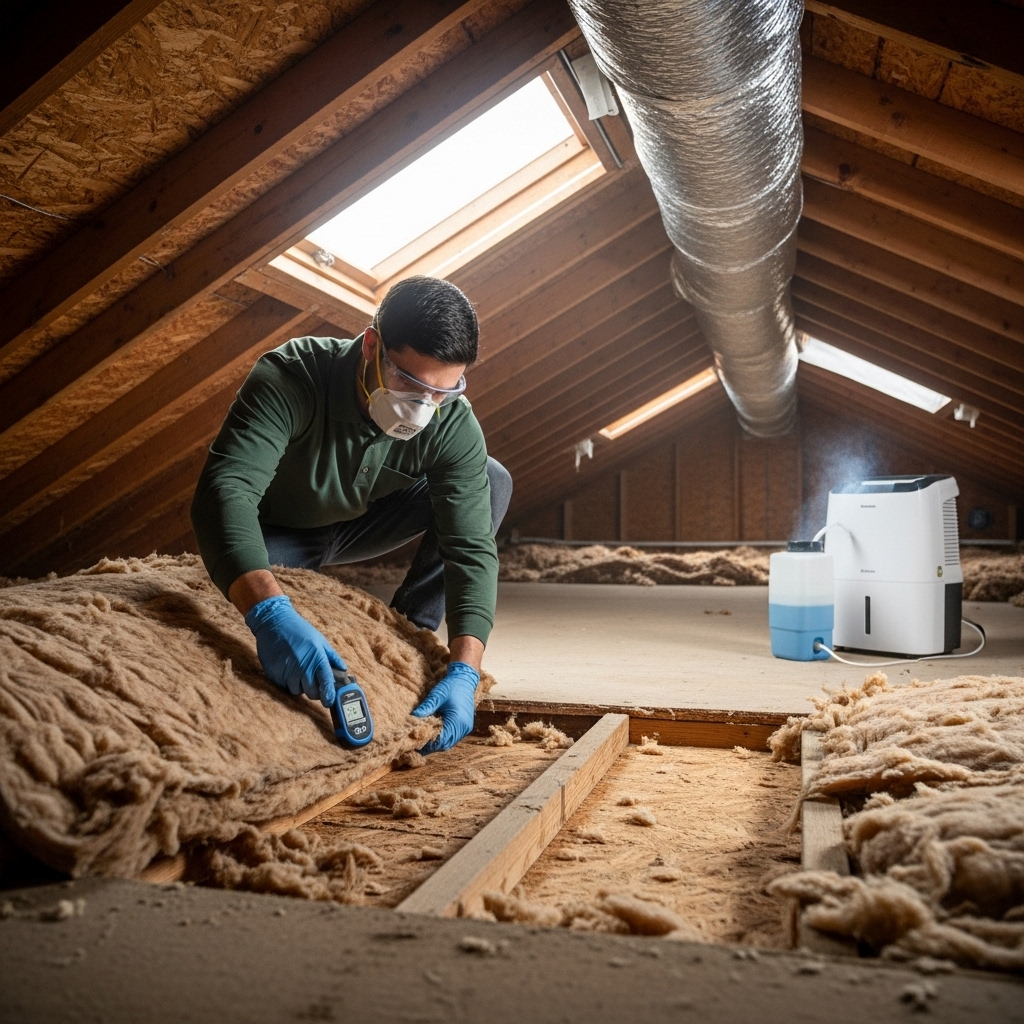
During the site visit, the assessor documents visible growth, takes moisture and humidity readings, and checks likely moisture pathways. In New Jersey basements, this might include inspecting foundation walls, sump systems, and grading influences. In attics, the assessor looks for air leaks from living spaces, bath fan terminations, and insulation continuity. In bathrooms and kitchens, ventilation performance and plumbing are scrutinized.
Moisture mapping connects the dots between symptoms and sources. The assessor may recommend small inspection openings if wall cavities are suspect, explaining the plan for repair or readiness for repair. The outcome is a proposed scope of work that addresses both contamination and the moisture cause.
Step 3: Job Planning and Documentation
Next, the company converts findings into a written plan. This plan details containment boundaries, equipment needs, removal versus cleaning decisions, and verification targets for moisture and cleanliness. You should also see a communication plan: who is your point of contact, how updates will be delivered, and what will happen if hidden conditions are discovered.
Documentation protects you and ensures the crew follows a consistent protocol. It is also invaluable for coordination with property managers, insurers, or other trades that may need to address building envelope or mechanical issues.
Step 4: Site Preparation and Containment
Before removal begins, the team prepares the site. Belongings may be moved or covered, floors protected, and pathways defined. Temporary barriers go up to isolate the work area, and air filtration devices create negative pressure. This step prevents spores and dust from traveling to clean spaces and is a defining difference between professional remediation and casual cleaning.
Containment remains in place until cleaning and drying are complete, and equipment is run continuously to maintain controlled airflow. Good teams verify pressure differentials and check that barriers remain sealed as the project progresses.
Step 5: Source Control and Stop the Water
It is essential to halt active moisture. Depending on your situation, that might mean shutting off a leaking line, repairing a roof penetration, adjusting grading, or addressing ventilation problems that lead to condensation. In many cases, source control is coordinated with plumbers, roofers, or HVAC professionals. Effective remediation cannot proceed without this step, because ongoing moisture undermines every other effort.
For basements with chronic dampness, your provider may recommend dehumidification and drainage improvements. For attics, the plan might include air sealing around fixtures and ensuring bath fans exhaust outdoors. Aligning source control with remediation prevents repeat problems.
Step 6: Removal of Unsalvageable Materials
Materials that are porous and significantly impacted—like water-damaged drywall, saturated insulation, or certain carpets—are typically removed from within containment. Crews cut and bag materials carefully, then transport them through protected paths to avoid contamination outside the work zone. Removal exposes the underlying structure so it can be cleaned and dried thoroughly.
Decisions about what to remove versus what to clean are based on material type, the extent of impact, and the feasibility of restoring to a clean, dry state. A reputable team explains these decisions in plain language and documents them with photos.
Step 7: Detailed Cleaning
After removal, remaining surfaces are cleaned methodically. The approach varies depending on whether the surface is non-porous, semi-porous, or wood framing. The goal is to lift and capture residues, not distribute them. Equipment setup and technique matter; proper agitation and capture, followed by thorough surface wiping, make a measurable difference. The crew pays special attention to corners, fastener heads, and edges where residues tend to persist.
Cleaning also includes adjacent areas inside containment—duct openings, window tracks, and trim—so that fine residues do not re-settle on newly cleaned surfaces. Detail work is a distinguishing hallmark of top-tier remediation.
Step 8: Drying and Verification
Drying equipment remains in place until materials reach target moisture content. Technicians measure surfaces regularly and adjust airflow and dehumidification accordingly. Verification includes documenting final readings and visually confirming that surfaces are clean and free of residues. This step provides objective evidence that conditions are ready for rebuilding or finishing.
Drying strategies differ by season. In New Jersey summers, humidity control can be the biggest challenge; in winters, avoiding over-drying and managing cold surfaces is key. A team with local experience anticipates these variables.
Step 9: Prevention and Education
Before containment is removed, the team reviews prevention recommendations specific to your home. You might discuss running bath fans for a set time after showers, keeping indoor humidity within a healthy range, redirecting downspouts, or improving attic ventilation and air sealing. These practical actions ensure the benefits of remediation last beyond the project.
Education also covers early warning signs to watch for: persistent musty odors, condensation on windows, or damp spots that return after rain. Knowing when to act helps you intervene before small issues grow into major problems.
Step 10: Post-Project Follow-Up
A strong company checks back with you after work is complete. They answer questions, review documentation, and confirm that prevention measures are working. If you plan renovations, they can coordinate with your contractor to keep the space dry and healthy as new materials are installed.
Follow-up builds confidence and reinforces the partnership mindset. The best providers stay available as a resource, not just for today’s project but for ongoing indoor environmental health.
Special Situations in New Jersey Homes
Coastal properties that sit vacant for part of the year often battle humidity buildup. The remediation plan may include recommendations for smart controls, dehumidification, and seasonal check-ins. In older urban buildings, plaster and brick may require different cleaning strategies than modern drywall. Split-level homes sometimes hide moisture pathways where foundation walls meet living spaces; careful assessment and targeted containment manage these complexities.
Multi-unit dwellings add coordination challenges. Containment must protect common areas, and communication with neighbors and property managers is essential. A team familiar with these settings ensures that remediation respects shared spaces and building rules.
Mid-Project Reality Checks
As materials are removed, surprises can emerge—hidden leaks, old repairs, or previously concealed growth. Professional crews plan for reassessment points and share new findings immediately. Adjusting the scope is not a failure; it is evidence of diligence and responsiveness. In the middle of planning or research, reviewing trusted resources such as keyword can help you benchmark whether your provider’s adjustments align with best practices.
Frequently Asked Questions
Q: Do I need testing before remediation? A: If the growth is visible and the source is clear, many projects proceed without lab testing. Testing may be useful for special documentation needs or when growth is suspected but not visible.
Q: Can I stay in my home during remediation? A: Often yes, with containment in place and the work area isolated. Your provider will advise based on the scope and your comfort level.
Q: How long will drying take? A: It depends on materials, season, and airflow, but professionals monitor moisture and keep you updated as targets are reached.
Q: What about my belongings? A: Contents can often be cleaned or isolated. Your team will discuss which items should be moved and how they will be protected.
Q: Will mold come back? A: Not if moisture is controlled and prevention steps are followed. Remediation plus long-term moisture management is the key to lasting results.
Q: Do cleaners alone solve the issue? A: Cleaners can be part of the process, but without removal of damaged materials and moisture control, they are not sufficient.
Take Confident Action
Knowing the steps empowers you to evaluate any proposal and ask better questions. Look for a provider who explains containment, removal, detailed cleaning, drying verification, and prevention in plain language. When you are ready to move from worry to a clear plan, reach out to a trusted New Jersey team and safeguard your home’s health and value by starting with keyword as your next step toward a drier, cleaner indoor environment.