
Successful mold removal begins with a thorough inspection. In New Jersey, where humid summers, coastal storms, and variable winters challenge every building, a structured checklist helps you identify moisture sources, assess risks, and plan effective remediation. This comprehensive inspection guide walks room by room and component by component, ensuring you do not miss hidden hotspots. Early in the process, familiarize yourself with the principles of mold removal so that your inspections translate into actionable plans.
Use this checklist before, during, and after remediation. It will help you document conditions, prioritize repairs, verify cleaning success, and set up prevention routines that match New Jersey’s climate realities. Whether you are handling a small bathroom issue or assessing a post-storm basement, consistency is your greatest advantage.
Exterior and Site Drainage
- Gutters and Downspouts: Confirm gutters are clear and downspouts discharge well away from the foundation. Look for overflow streaks, sagging sections, or missing extensions.
- Grading: Ensure soil slopes away from the house for at least several feet. Note low spots, window wells without covers, and planters against foundation walls.
- Roofing and Flashings: Inspect shingles, flashing around chimneys and vents, and valleys for wear or gaps. Look for water stains on soffits or fascia that may signal leaks.
- Exterior Penetrations: Check around hose bibs, electrical entries, and conduits for failed sealant. These tiny gaps can channel water into wall cavities.
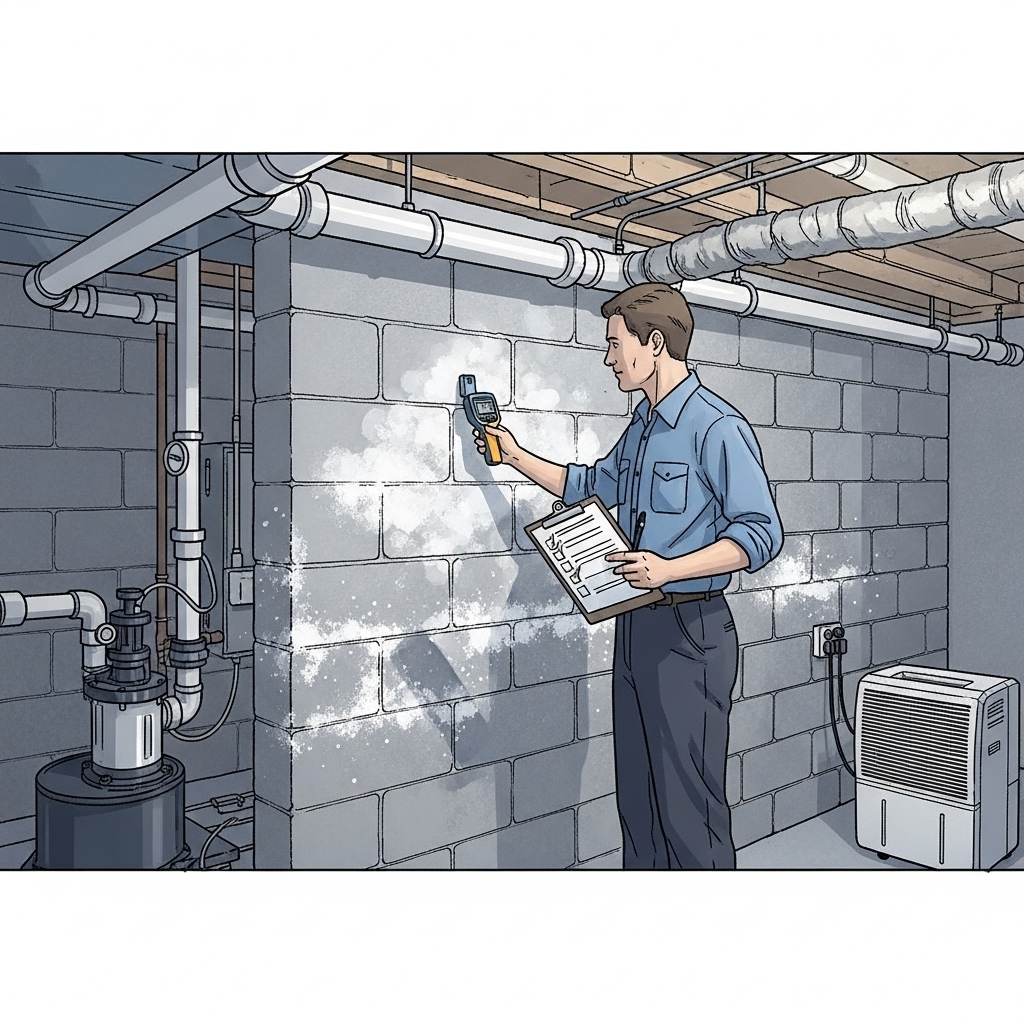
Basement and Crawlspace Inspection
- Foundation Walls: Look for efflorescence, damp lines, or peeling paint. Tap finished walls to detect hollows that may hide moisture.
- Floor and Slab: Note cracks, heaving, or dampness after rain. Check under storage and along baseboards.
- Sump and Drainage: Verify sump operation, check for backflow valves, and confirm discharge lines are clear and directed away from the home.
- Rim Joists and Sill Plates: Examine insulation for dampness and wood for staining or musty odor—common areas for condensation and hidden mold.
- HVAC and Ducts: Inspect for condensation, leaks, and dirty insulation. Ensure return-air pathways are not pulling from damp areas.
Bathrooms and Laundry Areas
- Ventilation: Confirm exhaust fans vent outdoors and move adequate air. Check for ghosting on ceilings and moisture around fan housings.
- Showers and Tubs: Inspect caulk and grout lines, corners, and horizontal ledges. Look under and behind fixtures where possible.
- Sinks and Vanities: Open cabinets to check for drips, swelling, or odors. Examine P-traps, supply lines, and shutoff valves.
- Laundry: Look at washer hoses, drains, and the floor beneath machines. Ensure dryer vents exhaust outdoors and are not kinked or clogged.
Kitchens and Living Areas
- Under-Sink Cabinets: Inspect for stains, soft wood, and warped flooring. Run water while observing supply and drain connections.
- Appliances: Check refrigerator water lines and ice makers, dishwasher hoses, and nearby flooring for seepage.
- Windows and Doors: Look for condensation, peeling paint, and soft sills. Inspect weatherstripping and weep holes.
- HVAC Returns and Supply Registers: Dust and moisture in these locations can indicate wider distribution of particles or humidity problems.
Attics and Roof Structures
- Ventilation Balance: Verify adequate soffit intake and ridge or gable exhaust. Look for blocked vents and insulation baffles.
- Roof Deck and Rafters: Inspect for dark staining, delamination, or dampness after storms. Confirm bath fan ducts terminate outside the roof or wall.
- Insulation: Check for wet or compressed insulation that signals air leaks and condensation.
Instrumentation and Documentation
- Hygrometer: Track relative humidity in basements, bathrooms, and living spaces. Aim for 30–50%.
- Moisture Meter: Take readings in suspect materials—drywall, studs, rim joists—and compare to known dry areas.
- Thermal Imaging (if available): Identify cold spots suggesting condensation, air leaks, or hidden moisture paths.
- Photos and Logs: Document pre-remediation conditions, mid-project progress, and post-remediation results. Include dates, readings, and actions taken.
Action Plan from Inspection Findings
Turn inspection notes into a prioritized plan. Start with water sources that actively leak or seep, followed by ventilation deficits and materials too damaged to salvage. Assign tasks: immediate fixes (tighten fittings, re-caulk), short-term controls (dehumidifiers, temporary fans), and long-term solutions (grading, sump systems, exhaust upgrades).
Decide what to remove and what to clean. Porous materials like wet drywall and insulation usually require removal, while non-porous and semi-porous surfaces can often be cleaned and disinfected. Keep the work organized by room and phase, and decide on a disposal route that avoids clean spaces.
Containment and Safety During Removal
Even with a solid plan, safety is paramount. Establish containment to isolate work areas using plastic sheeting and create negative pressure when possible. Wear a respirator (N95 or better), gloves, eye protection, and protective clothing. Turn off HVAC serving the work zone and seal vents to prevent spreading spores through ductwork.
Use a clean entry and exit procedure to avoid tracking debris. Keep tools and waste bags inside containment, and wipe bag exteriors before removing them from the zone. Avoid dry-scrubbing that aerosolizes particles; keep work damp and controlled.
Removal, Cleaning, and Disinfection
- Remove water-damaged, moldy porous materials beyond visible staining to reach clean edges.
- Bag and seal debris immediately; wipe the outside of bags prior to disposal.
- HEPA vacuum all exposed surfaces, including framing and adjacent areas.
- Clean with a non-ammonia detergent; rinse per label directions.
- Disinfect with an EPA-registered product, keeping surfaces wet for contact time.
- Dry thoroughly with dehumidifiers and air movement directed across surfaces.
- Verify with moisture readings and visual inspection before rebuilding.
Mid-Project Checkpoints
- Is the moisture source resolved and confirmed with readings or visual evidence?
- Are humidity levels under 50% during drying?
- Have you prevented cross-contamination with effective containment?
- Do surfaces look clean, free of dust, and neutral in odor?
- Are you comfortable proceeding, or is expert help advisable?
Complex findings—multiple rooms, attic sheathing involvement, or suspected HVAC contamination—often justify a professional evaluation. Many homeowners manage demolition and drying, then schedule professional mold removal for final cleaning and verification.
Post-Remediation Verification
Verification closes the loop. Re-check moisture levels, confirm no musty odors remain, and inspect for dust. Consider third-party verification for larger projects or real estate transactions. Keep a record that includes before-and-after photos, material disposal notes, and final readings.
Prevention Checklist for New Jersey Homes
- Maintain indoor humidity at 30–50% with dehumidifiers as needed.
- Vent bathrooms and kitchens outdoors; clean fan grilles and confirm airflow.
- Insulate cold surfaces and seal air leaks to reduce condensation.
- Service gutters seasonally and extend downspouts away from the foundation.
- Use breathable materials in basements and avoid wall-to-wall carpeting.
- Store items in sealed bins and elevate them off basement floors.
- Inspect plumbing connections and appliances monthly for slow leaks.
Frequently Asked Questions
Do I need testing before remediation? If you see visible mold and know the moisture cause, immediate removal and drying take priority. Testing can help with documentation or when the source is unclear.
Can I keep working if I smell mustiness after cleaning? Persistent odors suggest lingering moisture or hidden contamination. Pause, re-inspect concealed areas, and confirm humidity and moisture readings before proceeding.
What materials can be saved? Non-porous and semi-porous surfaces like metal, tile, and framing lumber can often be cleaned. Porous items—wet drywall, insulation, ceiling tiles, and carpet pads—usually need replacement.
Is it necessary to shut down HVAC? Yes, for the work zone. Running HVAC can move spores through the home. After remediation, replace filters and consider duct inspection if contamination is suspected.
How do I prevent attic mold? Ensure bath fans vent outdoors, maintain balanced intake and exhaust ventilation, seal air leaks from living spaces, and improve insulation where needed.
Your Next Steps for a Healthier Home
Turn inspection into action: fix moisture sources, contain the workspace, remove and clean methodically, and verify with measurements. If the scope grows or you want expert assurance, collaborate with experienced mold removal professionals who can help you complete the job and prevent future problems.