
Introduction
New Jersey homeowners face a unique combination of moisture challenges: humid summers, coastal storms, aging roofs and basements, and tightly sealed modern interiors that can trap humidity. A clear, repeatable process helps you address immediate mold issues while preventing future recurrence. This guide walks you through preparation, safe cleanup, controlled drying, and long-term maintenance so you can protect your family and your investment. From the first assessment to verification, the focus is on practical steps that work in real homes. As you read, remember that successful mold removal hinges on eliminating moisture sources, using proper safety measures, and verifying dryness before rebuilding.
Each home is different, but the sequence is consistent: stop the water, stabilize the environment, remove what cannot be saved, clean and dry what can, and then rebuild with prevention in mind. The following sections outline the workflow and decisions you will make along the way.
Step 1: Initial Assessment
Start with a calm walk-through. Note areas with visible spots, musty odors, or water stains. Check rooms below bathrooms and kitchens, around windows, and in corners where air circulation is limited. Peek into closets, behind furniture near exterior walls, and inside utility rooms with water heaters or HVAC equipment. Photograph findings and sketch a quick floor plan to track locations and sizes of affected areas.
Measure indoor humidity. If it is above 50%, run a dehumidifier and improve airflow while you plan next steps. Identify probable sources: recent storms, roof leaks, pipe issues, or condensation. Prioritize stopping active leaks immediately.
Step 2: Safety and Containment
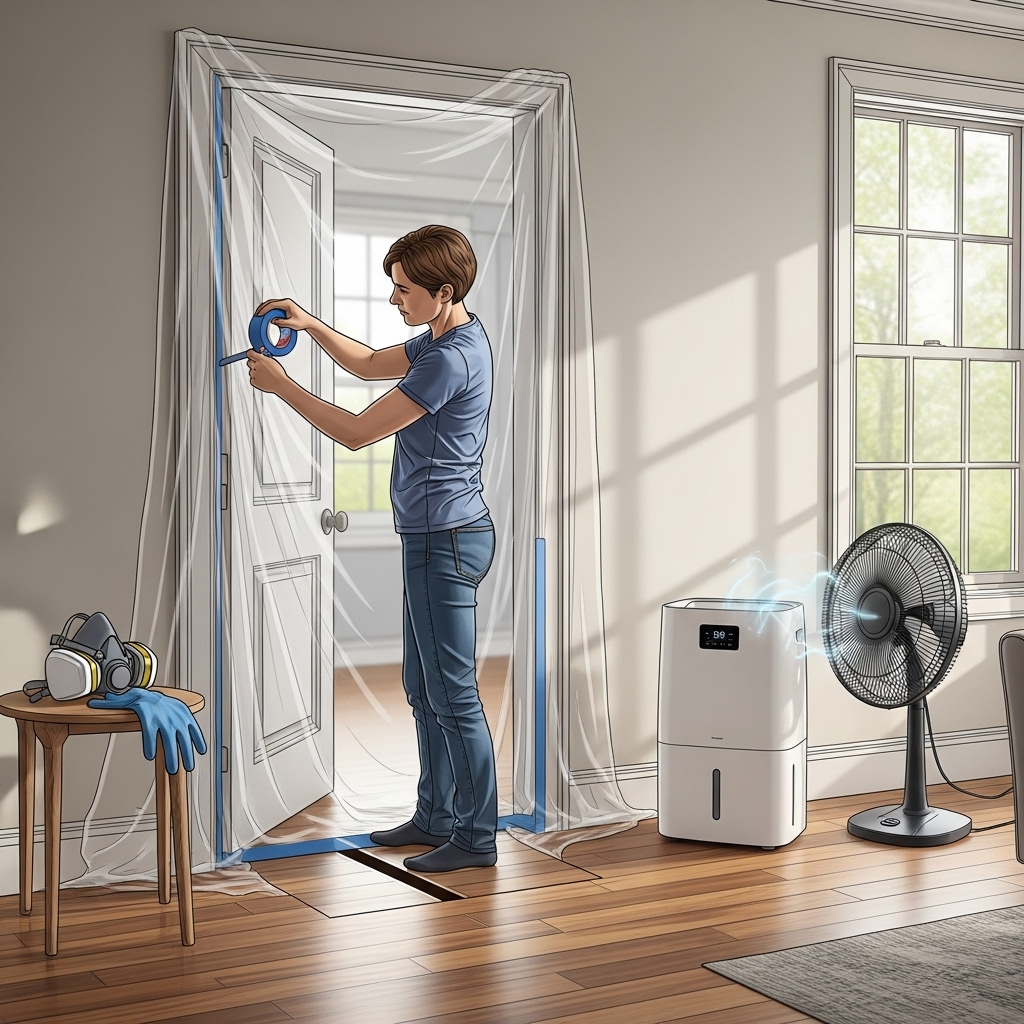
Put on gloves, eye protection, and a respirator. Keep children and pets out of the work zone. Close doors and, if needed, seal openings with plastic sheeting to contain dust. When practical, create gentle negative pressure by exhausting air outdoors with a fan. Plan your workflow so you do not walk through clean spaces with dusty gear.
Set up a staging area where you can remove PPE and bag debris before leaving containment. Keep cleaning supplies, trash bags, and the HEPA vacuum within the work zone.
Step 3: Source Control
Fix leaks and reduce humidity. Repair plumbing, clear gutters, extend downspouts, re-caulk around windows and tubs, and ensure bath and kitchen fans vent outside. In attics, keep soffit vents open with baffles and verify that exhaust ducts are connected to exterior hoods, not left loose in the attic. In basements and crawl spaces, consider vapor barriers and consistent dehumidification during warm months.
Step 4: Remove Unsalvageable Materials
Porous items that remained wet for more than 48 hours—such as carpet pad, insulation, and ceiling tiles—are typically better discarded. For drywall, small isolated spots may clean if the wall is dry and sound; larger or soft areas should be cut out neatly along stud lines. Bag debris immediately and remove it from the home.
Step 5: HEPA Vacuum and Wet Cleaning
Vacuum surfaces with a true HEPA machine to capture fine particles before applying liquids. Follow with detergent-based wiping on non-porous and semi-porous materials. Apply solution to cloths rather than spraying directly and replace cloths frequently. On unfinished wood, scrub gently but thoroughly; if light staining remains on dry, solid wood, a second pass or light abrasion followed by HEPA vacuuming can help.
Step 6: Controlled Drying
Use a dehumidifier to maintain indoor relative humidity between 30% and 50% while drying. Employ fans to create even airflow without blasting dust. Monitor progress with a moisture meter, comparing suspect areas to readings from unaffected materials. Drying can take several days depending on weather and materials.
Step 7: HVAC Considerations
Replace filters, vacuum returns, and avoid running the central system during dusty demolition. After cleaning, operate the system normally with a clean, appropriately rated filter. Confirm that return and supply registers are free of obstructions to support balanced air movement.
Step 8: Rebuild with Prevention in Mind
When reinstalling drywall, keep a small gap above floors, use moisture-resistant materials where appropriate, and prime and paint with quality coatings. In bathrooms, upgrade ventilation and maintain caulking. In basements, manage humidity with a dedicated dehumidifier and consider finishes that tolerate occasional dampness without trapping moisture.
Decision Points Along the Way
Throughout the process, reassess your plan. If odors persist, if growth appears in multiple rooms, or if the moisture source remains unclear, consider professional support. For many homeowners, the best use of time is to handle source control and basic cleanup while bringing in help for extensive removal or complex building science issues. Your documentation and measurements will make that collaboration efficient.
New Jersey Context: What to Watch For
Storm aftermath can reveal hidden vulnerabilities: wind-driven rain entering around windows, ice dams forcing meltwater under shingles, or groundwater rising along foundation walls. In shore areas, salt air and high humidity mean dehumidification is essential even when there are no leaks. In older homes, plaster and lath can hide moisture pockets behind intact paint; use your meter and trust your nose to identify suspicious zones.
Mid-Process Evaluation
After initial removal and cleaning, pause for 24–48 hours to measure humidity and moisture. If readings remain high or odors persist, re-check likely culprits such as disconnected exhaust ducts, trapped damp insulation, or seepage paths behind baseboards. At this stage, many homeowners find that a targeted consultation for mold removal helps confirm containment, drying strategy, and rebuild choices.
Verification and Maintenance
Verification includes clean surfaces, neutral smell, dry meter readings comparable to unaffected areas, and indoor humidity under 50% for several days. Keep a short log of readings and observations; data helps ensure the issue is truly resolved. Continue to run a dehumidifier in basements during humid months, operate bath and kitchen fans during and after moisture-producing activities, and maintain exterior drainage.
Prevention Checklist
- Maintain gutters and extend downspouts.
- Grade soil away from the foundation.
- Seal around windows, doors, and exterior penetrations.
- Ventilate bathrooms and kitchens outdoors.
- Insulate cold water pipes to prevent condensation.
- Keep indoor RH between 30% and 50%.
- Declutter basements to improve airflow and inspection visibility.
- Service HVAC regularly and replace filters as recommended.
FAQ
Q: How long does the process take? A: Small projects may wrap up in a few days; larger ones take longer due to drying and rebuilding. Monitoring keeps you on track.
Q: Do I need special chemicals? A: Not necessarily. Mild detergent, thorough wiping, HEPA vacuuming, and effective drying address most situations. Avoid mixing cleaners and ventilate well.
Q: Can I clean attic sheathing myself? A: Light surface growth may be addressed with careful cleaning and improved ventilation. Larger issues or difficult access often warrant professional help for safety and containment.
Q: Is it safe to run the HVAC during work? A: Avoid running it during demolition to prevent spreading dust. After cleaning, use clean filters and normal operation to help maintain air quality.
Q: What is the target humidity? A: Keep indoor humidity between 30% and 50%. In New Jersey summers, dehumidifiers make a big difference.
Keep Your Home on Track
With a defined process, you can move from concern to control—repairing sources, cleaning safely, drying thoroughly, and rebuilding for durability. If you prefer expert support to speed progress or handle complex areas, professional mold removal can integrate seamlessly with your plan and help keep your New Jersey home healthy season after season.