
Mold is one of those problems no homeowner wants to face, yet it’s incredibly common—especially in areas with high humidity or recent water damage. While it may start as a small patch, mold can quickly spread and cause significant health and structural concerns. That’s why knowing the right Mold Removal techniques is essential to keeping your home safe, clean, and healthy.
Why Mold Removal Matters
Mold doesn’t just look unsightly—it’s a sign of a deeper problem. Mold spores thrive in damp, dark environments, often hiding behind walls, under flooring, or in HVAC systems. Exposure to mold can trigger allergies, respiratory issues, and even skin irritation. It can also damage drywall, wood framing, insulation, and other porous materials. This is why effective mold remediation isn’t just about wiping away the surface—it’s about addressing the root cause and removing the mold completely.
Common Causes of Mold Growth
Before diving into techniques, it’s important to understand what causes mold in the first place. Mold usually forms as a result of:
- Unaddressed water leaks
- Flooding or water intrusion
- Poor ventilation and high humidity
- Condensation around windows or pipes
Identifying and eliminating these sources of moisture is a critical part of any successful Mold Removal strategy.
Effective Mold Removal Techniques
1. Containment of Affected Areas
One of the first steps in the mold removal process is containment. This involves isolating the affected space with plastic sheeting and using negative air pressure to prevent spores from spreading to other areas of the home. Proper containment is essential in both large and small mold remediation projects.
2. HEPA Filtration and Air Scrubbing
Airborne mold spores can linger long after visible mold is gone. High-efficiency particulate air (HEPA) filters are used in air scrubbers and vacuums to trap and remove these particles from the air. This step significantly improves indoor air quality and reduces health risks associated with mold exposure.
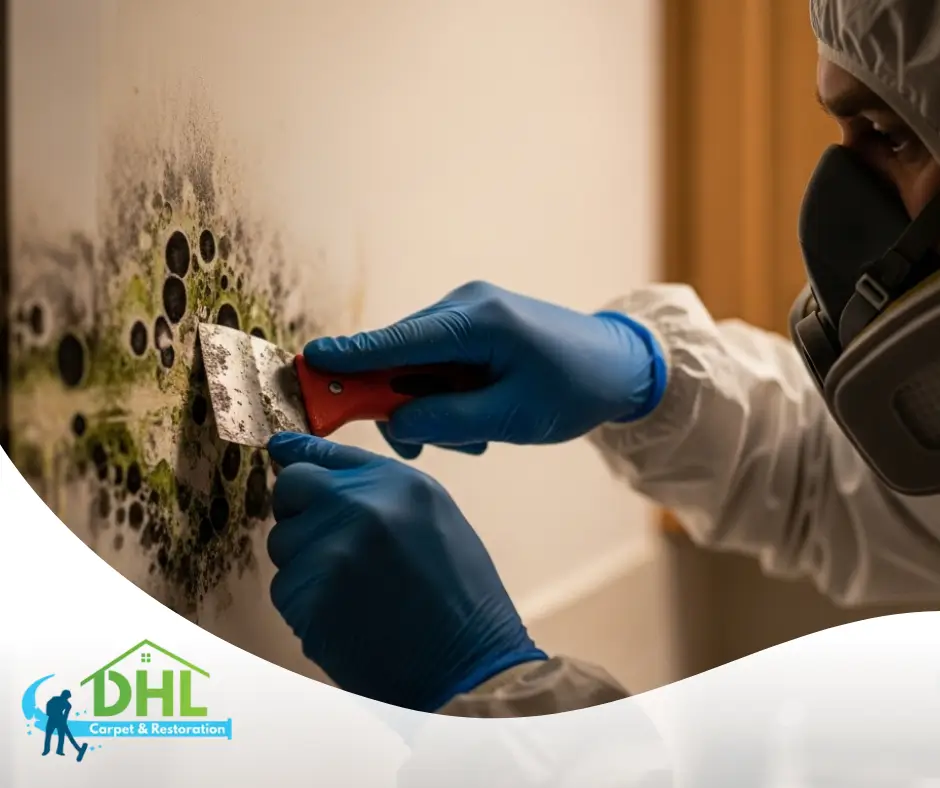
3. Removal of Contaminated Materials
Porous materials like drywall, insulation, and carpeting that are heavily infested with mold often need to be removed and replaced. Simply cleaning the surface won’t be enough if mold has penetrated deep into the material. Safe disposal is crucial to ensure spores don’t return.
4. Cleaning and Disinfection
Non-porous surfaces, such as tile, metal, and certain types of wood, can usually be saved with thorough scrubbing using antimicrobial solutions. This cleaning step is followed by disinfecting the area to kill any remaining spores and help prevent future growth. Professional-grade cleaners are typically more effective than household products for this task.
5. Moisture Control and Prevention
No Mold Removal job is complete without identifying and fixing the source of moisture. Whether it’s sealing a leaky pipe, improving ventilation, or installing a dehumidifier, keeping the environment dry is key to preventing mold from coming back. This final step is often overlooked but is critical for long-term success.
When to Call a Professional
While small mold patches can sometimes be handled with DIY solutions, larger infestations or recurring problems require professional mold mitigation. Professionals use advanced tools like infrared cameras, moisture meters, and HEPA vacuums to ensure complete mold removal and indoor safety. If you notice musty odors, widespread staining, or mold reappearing despite efforts to clean it, it’s time to bring in expert help.
Final Thoughts
Mold isn’t something you can afford to ignore. Whether it’s hiding behind your walls or growing out in the open, taking swift and thorough action is the only way to protect your property and your health. With the right Mold Removal techniques, you can reclaim your space and breathe easier knowing your home is clean, dry, and mold-free.