
Your Complete Guide to Mold Inspection and Testing in Bloomfield, New Jersey
Mold concerns in Bloomfield, New Jersey, are often rooted in predictable patterns: seasonal humidity, aging roofs and gutters, finished basements, attic ventilation challenges, and plumbing configurations that can hide slow leaks. A structured approach to inspection and testing separates signal from noise, ensuring that you act based on evidence rather than anxiety. Whether you have noticed a musty odor, are planning a renovation, or need documentation for a real estate transaction, engaging expert mold inspection services brings clarity to complex situations and helps you prioritize practical next steps.
This guide explains what happens during a mold inspection, when testing is valuable, how results are interpreted, and what you can do to prevent recurrence. It also highlights Bloomfield-specific considerations that influence moisture behavior in homes and small businesses, so your plan aligns with our local climate and building styles.
Inspection First: Building a Moisture Narrative
Every mold evaluation should begin with an inspection. The goal is to build a moisture narrative: where water or humidity originates, how it travels, and which materials or assemblies are most susceptible. Expect an initial interview to capture the property’s history—roof work, leaks, appliance replacements, storm events, and any prior remediation—followed by an exterior and interior review. Exterior observations include grading, downspouts, foundation conditions, siding penetrations, and roof drainage. Indoors, high-focus areas include basements, bathrooms, kitchens, attics, and zones with prior issues.
Tools help quantify conditions. Moisture meters assess building materials; hygrometers reveal humidity levels; and thermal imaging can highlight hidden dampness or insulation voids by showing temperature patterns. The inspector documents visible staining, material deterioration, and odor intensity. Together, these data points form a basis for action—sometimes without any need for laboratory testing.
When and Why Testing Adds Value
Testing is not a universal requirement, but it can be indispensable in specific scenarios. If discoloration is uncertain or appears atypical, a surface sample may confirm whether it is mold. If odors persist without visible growth, or when medical sensitivities require more detail, carefully planned air sampling can compare indoor spore concentrations to outdoor levels. Testing also provides baseline data before and after remediation or repairs, helping you verify success and avoid premature closure of a moisture problem.
Importantly, test results must be interpreted in context. A spore count alone does not tell the whole story. The report should tie numbers to observed conditions: Was humidity high during sampling? Were windows open? Was there recent cleaning or construction that could skew results? A thoughtful inspector integrates test data with moisture sources and building dynamics to deliver meaningful guidance.
Bloomfield Realities: Climate, Construction, and Use Patterns
Bloomfield’s four-season climate exposes buildings to temperature and humidity swings. Summer humidity can drive condensation on cool surfaces; winter stack effect can pull warm, moist air into attics where it condenses on cold sheathing; and spring rain events test the resilience of roofs, flashing, and grading. Home age influences risk, too. Older basements may have porous walls; newer, tighter homes can trap humidity without active ventilation; and renovations sometimes introduce vapor drive mismatches between old and new materials.
Use patterns matter. Showers that outpace exhaust capacity, laundry rooms without adequate airflow, and hobby spaces with water use can all raise localized humidity. Knowing how you live and work in your space helps the inspector pinpoint likely sources and recommend behavior or equipment changes that deliver lasting benefits.
Inside the Testing Toolkit
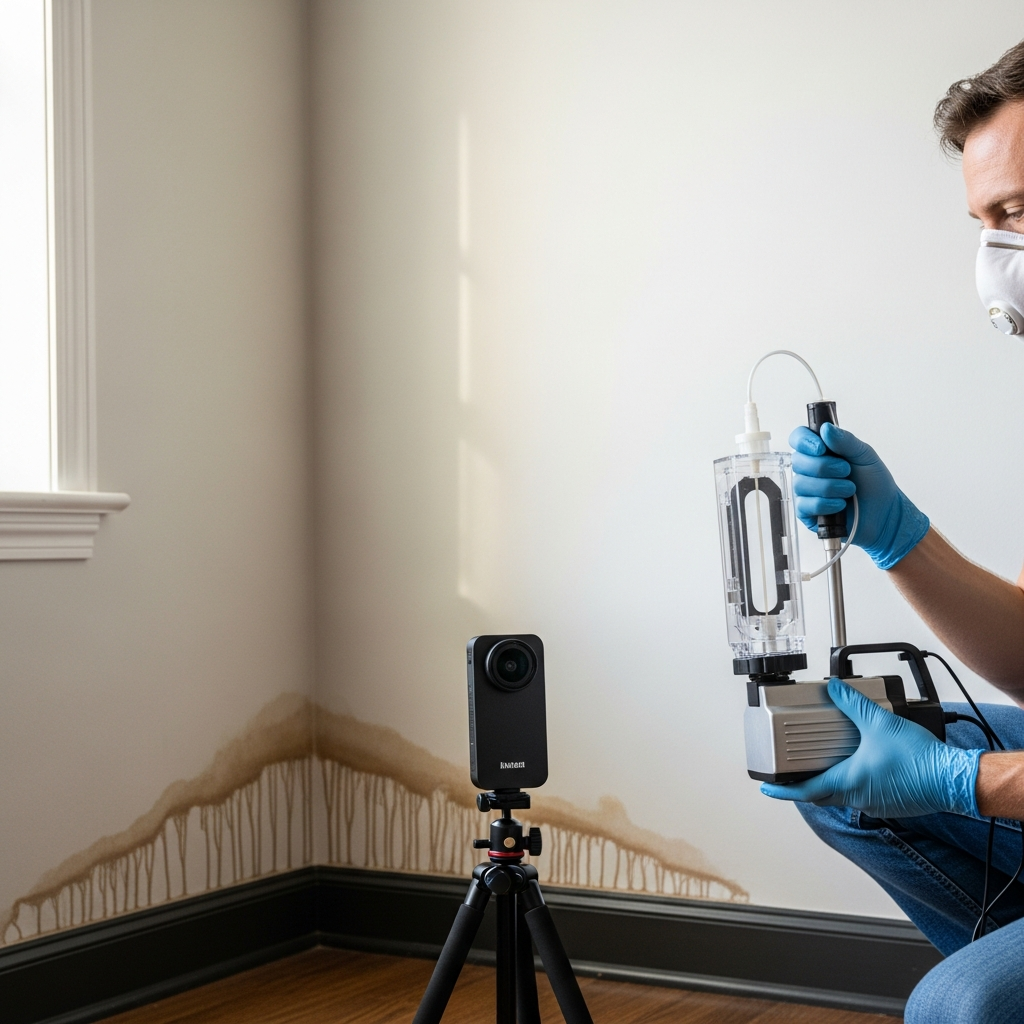
Common testing methods include air sampling (using calibrated pumps and cassettes), surface swabs or tape lifts from suspect areas, and in some cases, direct moisture content readings paired with material assessment. Air samples are usually collected in representative rooms and sometimes near suspected sources, with an outdoor sample for comparison. Surface samples help distinguish between discoloration caused by dust, soot, or old staining and discoloration caused by current or past mold growth.
Sampling needs consistent protocols. Flow rates must be verified, cassettes labeled accurately, and time of day, weather, and HVAC status documented. Good practice also involves avoiding sampling immediately after aggressive cleaning or high-traffic activity that stirs dust, unless the goal is to evaluate worst-case conditions. The resulting laboratory analysis identifies spore types and quantities, which, when correlated with inspection findings, guide decision-making.
From Findings to Fixes: Interpreting Results Responsibly
A trustworthy report translates technical data into plain-language steps. If results show indoor concentrations and types typical of outdoor air and no visible moisture sources, the plan may focus on routine ventilation and monitoring. If results suggest excess spores associated with water-damaged materials, the next steps often address source control—repairing leaks, improving drainage, or recalibrating ventilation—before, during, and after any cleaning or removal.
In Bloomfield, many reports point to basement humidity management and attic ventilation balance. For basements, recommended steps often include sealing air leaks between conditioned and unconditioned spaces, managing downspout discharge, and right-sizing dehumidifiers. For attics, a coordinated plan to ensure bath fans vent outdoors, soffits are unobstructed, and insulation is balanced with adequate exhaust helps reduce winter condensation and summer heat stress.
Homeowners vs. Small Businesses: Similar Principles, Different Priorities
The fundamentals of moisture and mold control apply across property types, but the priorities can differ. Homeowners often focus on comfort, resale value, and protecting finishes. Small businesses emphasize continuity, customer or employee comfort, and documentation for lease or regulatory requirements. The inspection and testing process can be tailored to address each set of concerns, specifying access windows, privacy needs, or after-hours sampling to minimize disruption.
Regardless of property type, the best outcomes arise when recommendations are practical and sequenced. Quick wins—like correcting a misrouted exhaust fan or extending a downspout—can yield immediate improvements while larger projects are planned.
Preparing for an Inspection or Testing Appointment
Preparation streamlines the visit and ensures representative results. Make key areas accessible: attics, basements, mechanical rooms, under-sink cabinets, and any spot with prior leaks. Note typical daily routines that affect humidity, such as shower times or laundry schedules, and share this information with the inspector. If air sampling is planned, avoid unusual cleaning right before the visit unless it reflects everyday conditions.
Have documentation ready: roof or plumbing repair receipts, appliance installation dates, and any previous inspection or lab reports. If you operate a small business, coordinate with staff so spaces are in normal operating condition during sampling, unless the goal is to capture off-hours conditions.
Working Through Remediation or Repairs
If testing indicates a moisture-driven mold problem, the next phase may involve repair and, where needed, controlled removal of affected materials using containment and protective measures. Inspection and testing play a role before, during, and after this work: establishing a baseline, verifying source control mid-project, and confirming that post-work conditions have normalized. This stepwise approach reduces the chance of recurrence and offers a clear record for future reference.
Verification matters as much as initial findings. Even excellent repairs can fall short if they are not documented and tested at appropriate times. A coordinated plan ensures that data reflect the true, stabilized condition of the space rather than a transient reading during construction.
Common Misconceptions Debunked
“If I paint over stained drywall, the problem is solved.” Paint hides discoloration but does not fix moisture—and if moisture remains, mold can return. “A dehumidifier alone will cure basement mold.” Dehumidifiers control airborne moisture but do not stop liquid water intrusion or capillary rise through foundations. “If I cannot see mold, it is not there.” Odors, humidity readings, and occupant symptoms sometimes indicate hidden problems that deserve investigation.
Clarity is the antidote to uncertainty. By grounding decisions in careful inspection and judicious testing, you avoid both overreaction and inaction.
Frequently Asked Questions: Mold Inspection and Testing
Q: Do I always need both inspection and testing? A: Start with inspection. Testing is added when it answers a specific question—ambiguity in discoloration, unexplained odor, medical sensitivities, or documentation before/after repairs.
Q: How many air samples are needed? A: It depends on property size, layout, and concerns. Typically, at least one outdoor sample and several indoor samples cover key areas, but the final number reflects your goals and the inspector’s findings.
Q: How long until I receive results? A: Many labs return results within a few business days after sampling, though timelines can vary with workload and shipping. Your inspector should provide an estimated delivery window.
Q: Will results tell me exactly where mold is? A: Air samples indicate relative concentrations and types, not precise locations. They are most useful when paired with targeted inspection findings that narrow the search for sources.
Q: Can I test after remediation to prove success? A: Yes. Post-remediation verification sampling, conducted under stable conditions, can document that airborne concentrations are typical and that moisture issues have been resolved.
Q: Is there a universal “safe” number? A: No single number guarantees safety across all contexts. Interpreting results requires comparing indoor to outdoor levels, considering species present, and linking data to building conditions.
Staying Ahead: Maintenance and Monitoring
Routine practices reduce risk and preserve indoor comfort. Use bathroom and kitchen exhaust consistently; keep relative humidity near 40–50 percent; inspect gutters, downspouts, and grading seasonally; and check high-risk areas—like under sinks and near appliances—after storms or heavy use. In basements, maintain clearance along foundation walls and review dehumidifier performance periodically. In attics, ensure vents remain open and insulation is dry and intact.
For small businesses, incorporate moisture checks into your facility schedule. Simple logs for roof drains, condensate lines, and humidity readings create a record that supports rapid response and continual improvement.
Turning Insight into Action in Bloomfield
An organized inspection and, when indicated, targeted testing transform uncertainty into a plan. You learn what is happening, why it is happening, and how to prevent it from happening again. That is the value of pairing building science with practical steps tailored to Bloomfield’s climate and construction patterns.
If you are ready to prioritize a healthier, more resilient indoor environment, schedule professional mold inspection services and take the first step toward clarity. With the right strategy, you can manage moisture confidently, complete repairs efficiently, and enjoy lasting results.