
A clear, step-by-step checklist removes guesswork from preparing, hosting, and following through on a home mold inspection in Bloomfield, New Jersey. Whether you live in a classic colonial with a finished basement or a modern townhouse with vaulted ceilings, an organized approach turns a complex assessment into a smooth, productive visit. The goal of this guide is to help you anticipate what professionals look for, arrange your home for efficient access, and collect the documentation that accelerates accurate findings. If you have not yet selected a provider, consider arranging a professional mold inspection with a credentialed, independent inspector familiar with local housing and climate patterns.
Before the appointment: organize, document, and prepare access
- Identify your top concerns: odors, visible spots, past water leaks, chronic humidity, or condensation around windows.
- Write a simple timeline of past water events, including roof leaks, appliance failures, sump pump issues, and heavy rains that caused seepage.
- Collect past repair receipts, renovation plans, and any humidity readings you have tracked using in-home devices.
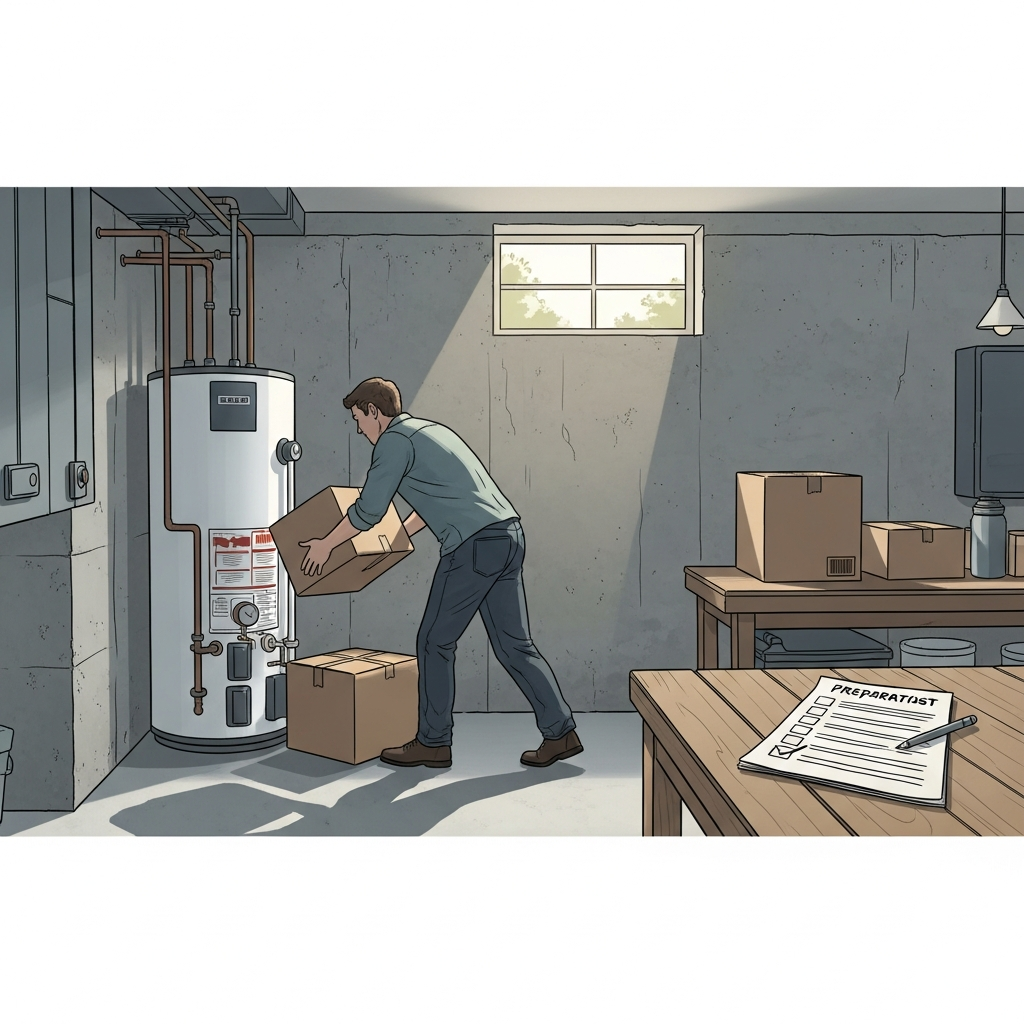
- Clear 3 feet of space around mechanicals (water heater, furnace, air handler) and under sinks to allow quick inspection of plumbing and drains.
- Unlock utility closets, attic hatches, and crawl space doors. Verify safe ladder footing for attic access.
- Move stored items away from suspect walls in basements or closets so inspectors can observe baseboards, sill plates, and floor edges.
- Secure pets and coordinate with family members or tenants so rooms are available on a predictable schedule.
- Note when odors are strongest and after which activities (showers, laundry, cooking) they occur, as this helps trace ventilation issues.
Exterior checklist: start where water begins
- Roof and flashing: Look for missing shingles, damaged flashing around chimneys or vents, and signs of past patching.
- Gutters and downspouts: Ensure they are clear and discharged away from the foundation; pooled water near the home is a red flag.
- Siding and trim: Inspect for cracks, gaps, or rot where water can penetrate sheathing.
- Grading: Soil should slope away from the house; negative grading invites seepage into basements or crawl spaces.
- Windows and doors: Check caulking and seals; water intrusion often begins at penetrations in the building envelope.
Interior checklist by area
You and the inspector will prioritize areas historically associated with moisture. Use this room-by-room guide to ensure nothing is overlooked.
- Basement and crawl space: Look for efflorescence on walls, wet spots at corners, staining on joists or subfloor, and musty odors. Verify sump pump operation and examine dehumidifier drains.
- Attic: Check for darkened sheathing, inadequate ventilation, blocked soffits, and bath fans venting into the attic instead of outdoors.
- Bathrooms: Examine grout and caulk, plumbing under vanities, and fan performance. Short post-shower humidity spikes should subside quickly with proper ventilation.
- Kitchen and laundry: Inspect supply and drain lines, refrigerator and dishwasher connections, and the floor beneath washing machines.
- Living spaces and bedrooms: Note condensation on windows, discoloration at baseboards, or odors near exterior walls where insulation or vapor control may be lacking.
Tools inspectors may use and what they mean
Professional inspectors rely on specialized tools to move beyond guesswork. Moisture meters reveal elevated content in wood and drywall; hygrometers display relative humidity; thermal imaging helps visualize cold spots that can signal damp insulation, vapor drive, or air leakage; and borescopes allow a look inside voids through small openings. If warranted, inspectors may take air or surface samples for lab analysis. The lab results are then interpreted alongside visual and moisture data to build a complete picture of conditions.
How to interact with your inspector for the best results
- Start with your top concerns and be honest about DIY fixes you have tried. This context speeds up diagnosis.
- Ask the inspector to explain readings and photos as they go. Real-time insights make the final report easier to apply.
- Discuss whether sampling is warranted after the visual and moisture assessment is complete, not before.
- Clarify when you will receive the report and what it will include: photos, measurements, and prioritized recommendations.
Documentation you will want in the final report
A strong report ties together causes and effects, supported by clear evidence. Look for a summary of issues, moisture readings with locations, photos or thermal images, and step-by-step recommendations for moisture control, material repair or removal as needed, and ventilation improvements. If sampling was performed, results should be explained without jargon and placed in context with outdoor conditions, construction details, and the day’s findings.
Bloomfield-specific concerns to keep in mind
In Bloomfield, seasonal humidity and temperature swings challenge building envelopes. Attic ventilation, basement drainage, and bathroom exhaust performance are frequent culprits. Many homes also have mature trees that shade roofs and siding, keeping surfaces damp after storms. Localized grading issues and aging window assemblies can contribute to intermittent intrusion that is easy to miss during dry spells. Working with an inspector who understands these regional patterns will focus attention on the most revealing areas first.
After the inspection: prioritize actions using the checklist
- Immediate moisture control: Stop active leaks, adjust downspouts, and confirm bath fans exhaust outdoors.
- Ventilation and dehumidification: Tackle indoor humidity to remove a key ingredient that allows mold to grow on damp surfaces.
- Material decisions: Based on the report, plan for targeted removal or repair of affected drywall, insulation, trim, or flooring if recommended.
- HVAC considerations: Evaluate filtration, condensate drainage, and supply/return balance if distribution of humidity or particulates is suspected.
- Follow-up verification: After corrective work, consider a recheck to confirm conditions have normalized.
Common mistakes homeowners can avoid
- Painting over stains without addressing moisture. This hides clues rather than solving the problem.
- Running dehumidifiers aggressively just before the inspection, which can mask underlying conditions temporarily.
- Disturbing visible mold without containment or protection, potentially spreading spores.
- Delaying roof, gutter, or grading fixes that keep feeding the same moisture pathways.
- Skipping follow-up when symptoms persist. A brief recheck often prevents recurring issues.
When sampling adds value
Sampling can be a decisive tool when there is no visible growth but occupants report symptoms or odors; when you need documentation for a transaction; or for post-remediation verification. The decision to sample should be guided by the inspector’s visual and moisture findings. Air and surface samples are most informative when used to answer a specific question, with proper chain of custody and clear interpretation in the final report.
How this checklist supports a successful outcome
By preparing access, gathering documents, and understanding the process, you enable a faster, more accurate assessment. Your inspector spends more time diagnosing root causes and less time moving obstacles or searching for histories. The result is a clearer, more actionable report—one you can use to plan targeted fixes, confirm moisture control, and, if needed, validate results after work is completed.
Frequently asked questions
Q: Do I need to be present for the entire inspection? A: Being available at the start and end is ideal so you can share concerns and hear preliminary observations. If you remain home, give the inspector room to work efficiently.
Q: Will every concern require sampling? A: No. Sampling is recommended when it answers a specific question that visual and moisture readings cannot resolve on their own.
Q: Can inspectors evaluate inaccessible spots like sealed soffits? A: They can often infer hidden conditions using tools and patterns, and they may recommend limited access openings if warranted.
Q: What should I do if I find a new leak after the inspection? A: Document it immediately, stop the water source, and share details with your inspector or contractor so your plan can be adjusted quickly.
Q: How soon will I receive the report? A: Delivery depends on whether lab analysis is involved. Many reports are issued after results are returned and findings are synthesized into practical recommendations.
Mid-appointment tips you can use right away
- Ask the inspector to flag quick wins: ventilation tweaks, drainage adjustments, or minor sealant repairs that you can implement promptly.
- Photograph key findings as they are discovered so you have a reference while waiting for the official report.
- Clarify next steps and timeframes for any follow-up checks recommended in the plan.
- If sampling is proposed, ask how results will be contextualized with the day’s observations.
Bringing it all together for Bloomfield homeowners
With a well-organized checklist and a trusted local professional, your inspection becomes less about uncertainty and more about practical action. If you still need to line up a qualified provider, a professional mold inspection guided by building science and local experience will transform your notes into a clear, prioritized plan. Use this checklist before, during, and after the visit to keep momentum and confidently protect your home and health.
Ready to take the next step?
If your Bloomfield home has lingering odors, recent water events, or recurring humidity, now is the ideal time to move from concern to clarity. Gather your documents, prepare the access points on this checklist, and book a local expert to evaluate your home methodically. To get started, schedule a mold inspection so you can turn a to-do list into a decisive plan that restores comfort and peace of mind.