
Step-by-Step Mold Inspection Process in Bloomfield, New Jersey
A reliable mold inspection is a methodical building-science investigation—not a quick glance with a moisture meter. In Bloomfield, New Jersey, where older basements, attic conversions, and humid summers converge, a disciplined process ensures that findings lead to clear, lasting solutions. This guide walks you through each phase of a top-tier inspection so you know what to expect, how to prepare, and how the results translate into remediation and prevention. If you are comparing providers or want a baseline to measure against, consider arranging a professional mold inspection and use the steps below to evaluate quality and completeness.
1. Pre-Inspection Interview and Planning
The best inspections begin before anyone steps inside. Your inspector should ask about the home’s age, renovations, water events, odors, comfort complaints, and any known problem areas. Weather context matters in Bloomfield: heavy rains, snowmelt, and summer humidity drive seasonal patterns. The inspector prepares a plan to prioritize basements, attics, bathrooms, and mechanical areas while remaining open to clues found during the walkthrough.
2. Exterior Survey: Start Where Water Starts
Water management begins outside. The inspection should include gutter and downspout performance, discharge distance, grading slope, driveway pitch toward or away from the foundation, siding and masonry condition, and roof edge details observable from the ground. Many basement problems are exterior problems in disguise; documenting these first frames everything that follows.
3. Interior Walkthrough: Sense and Sequence
The inspector then performs a room-by-room walkthrough, noting odors, visible staining, water-damaged materials, and prior patchwork repairs. They should identify high-risk rooms based on usage (baths, kitchens, laundry) and exposure (below grade, exterior corners). A top-tier inspector explains what they see as they go, turning the visit into a learning opportunity for the homeowner.
4. Moisture Mapping and Thermal Imaging
Quantifying moisture validates suspicion. Inspectors use pin and pinless moisture meters on walls, ceilings, floors, trim, and sill plates. Thermal cameras highlight temperature differences that may indicate wet insulation, air leaks, or hidden plumbing issues. Data is logged with photos to produce a moisture map of your home—evidence that supports conclusions, not guesswork.
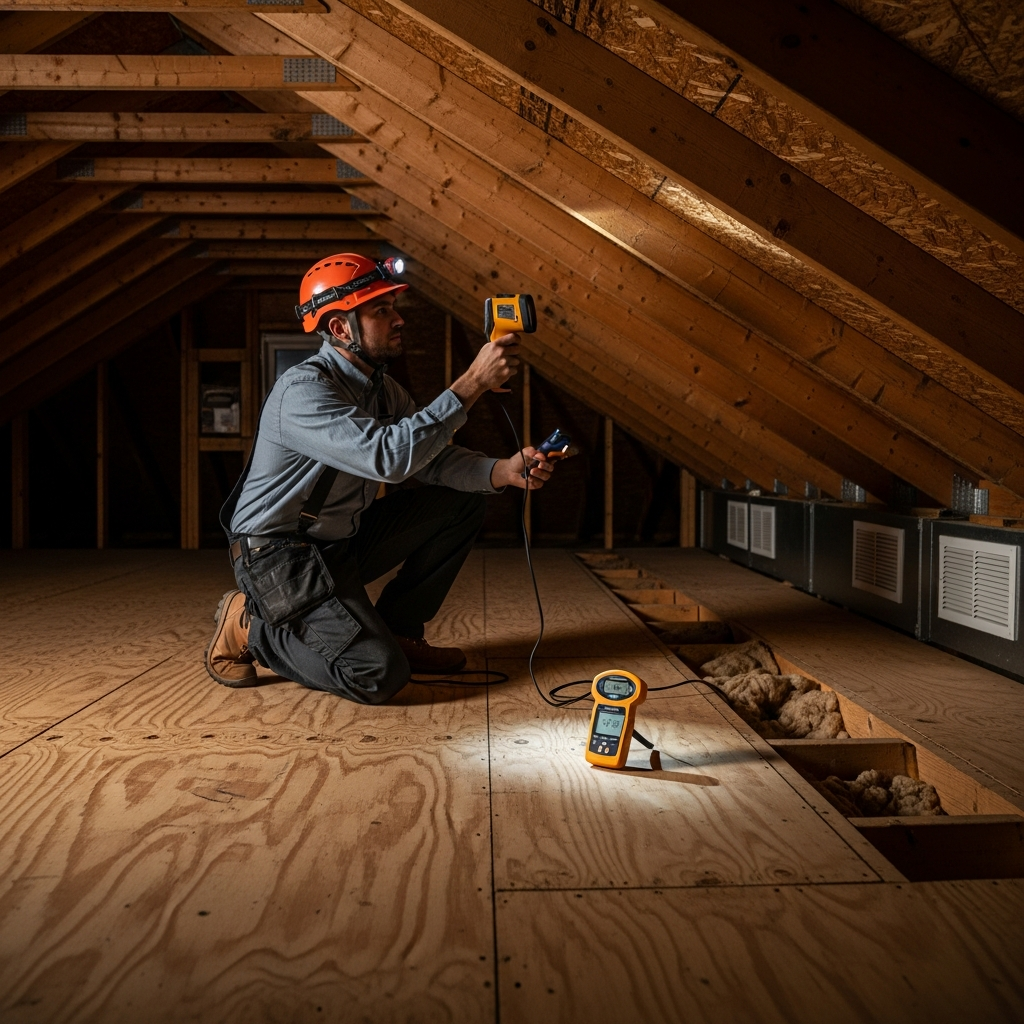
5. Attic and Roof Interface Evaluation
Attics tell the truth about airflow and insulation. In Bloomfield, older homes often show cold-weather staining on roof sheathing from condensation rather than leaks. Inspectors verify bath fans vent outdoors, confirm soffit-to-ridge ventilation paths, and look for missing air barriers behind knee walls. They also check for prior leak repairs that sealed the surface but left wet materials in place.
6. Basement and Foundation Assessment
Below-grade spaces are where outside water meets inside air. Inspectors examine perimeter walls for efflorescence, flaking paint, and dampness. They check slab conditions, sump operation, floor drains, and signs of vapor transmission. Finished basements are evaluated for moisture trapped behind drywall, at baseboards, and under flooring—common hiding places for growth when drainage is inadequate.
7. HVAC Review: Moisture’s Hidden Highway
Air conditioning can condense significant moisture. Inspectors review coil cleanliness, condensate pan and drain function, filter condition, and duct leakage. They look for disconnected or poorly sealed supply runs in basements or attics that can alter pressure and pull damp air into living spaces. Recommendations often include maintenance, sealing, and dehumidification targets.
8. Bathrooms, Kitchens, and Laundry Areas
High-moisture rooms get focused attention. Inspectors check shower surrounds, grout and caulk integrity, sink bases, and appliance connections. They verify that dryers vent outdoors and that fan run-times are adequate to remove lingering humidity. Small leaks over long periods frequently cause the most damage, so slow valves and weeping fittings are documented.
9. Decision Point: Whether to Sample
Sampling is useful when it can clarify a decision. If hidden growth is suspected, if occupants report symptoms without visible sources, or if documentation is needed for a transaction, the inspector may collect air or surface samples. They should explain the rationale, locations, and limitations, and they should pair results with on-site moisture findings rather than presenting raw numbers without context.
10. Interpreting Laboratory Results
When samples are collected, the report should provide plain-language interpretation, trend analysis, and comparison with outdoor controls. The key is connecting species and counts to building conditions: for example, attic sheathing growth linked to poor ventilation and bathroom fans discharging into the attic, or basement airborne elevations tied to wall seepage and carpeted slabs.
11. Drafting a Remediation Scope
A top-quality inspection yields a clear, prioritized remediation plan. It details containment zones, negative air use, personal protective equipment, removal of contaminated porous materials, cleaning and HEPA vacuuming protocols, and criteria for drying and rebuild. For Bloomfield basements, scopes often emphasize drainage improvements, hard-surface flooring, and dehumidification to maintain stable RH.
12. Prevention and Maintenance Plan
Prevention makes remediation stick. The plan should set humidity targets by season, specify bath fan run-times, recommend air sealing for attics, and outline exterior drainage improvements. It also suggests monitoring steps—simple hygrometers, routine filter changes, and seasonal checklists—to maintain results long term.
13. Reporting and Communication
The final report is your roadmap: annotated photos, moisture readings, thermal images, sample rationales and results (if collected), and specific next steps. Timely delivery matters—especially during real estate transactions. A professional inspector communicates preliminary findings on-site and follows up with a complete document you can share with contractors or buyers.
14. Post-Remediation Verification (If Applicable)
After remediation, verification confirms success. The inspector visually assesses the work area, checks that wet materials were removed and surfaces cleaned, may take moisture readings to confirm dryness, and, when appropriate, collects clearance samples. The goal is objective evidence that conditions are normal and the space is ready for rebuild and re-occupancy.
What Makes This Process “Top-Rated” in Bloomfield
- Local insight: Experience with Bloomfield’s basements, attic conversions, and mixed-age additions.
- Instrumentation: Moisture meters, thermal imaging, hygrometers, and, when warranted, sampling.
- Cause-first mindset: Identify and fix water sources—not just visible growth.
- Clear deliverables: Actionable remediation scopes and prevention plans.
These traits turn a routine inspection into a reliable blueprint for long-term results.
Frequently Asked Questions
Q: How long does a thorough inspection take? A: Most single-family homes require two to three hours on site, plus time for analysis and reporting.
Q: Do I always need lab samples? A: No. Sampling should clarify a decision. Many issues are diagnosed with moisture mapping and visual assessment alone.
Q: Will the inspector open walls? A: Inspections are typically non-destructive. If destructive exploration is recommended, it will be described in the report for your approval.
Q: What indoor humidity should I maintain? A: Aim for 40–55% RH in warm months, adjusting in winter to reduce condensation on windows while preserving comfort.
Q: Can I stay home during the inspection? A: Yes. Inspectors work around daily life and explain findings as they go.
Putting the Steps into Action
With a clear, step-by-step process, you can evaluate providers and understand your home’s moisture story with confidence. In Bloomfield, that means focusing on drainage first, verifying attic airflow, correcting slow leaks, and setting humidity targets that fit our seasonal swings.
Ready for a Clear Plan?
If you suspect hidden moisture, notice musty odors, or are preparing for a renovation or sale, do not wait for a heavy rain to test your home. Book a methodical, building-science-based mold inspection and turn uncertainty into a prioritized roadmap for remediation and prevention tailored to your Bloomfield property.