
Introduction: A Step-by-Step Guide to Home Mold Inspections in Bloomfield, New Jersey
If you are planning a home mold inspection in Bloomfield, knowing the steps ahead of time turns an unfamiliar process into a predictable path. This guide walks you through what typically happens before, during, and after the visit, highlighting how inspectors connect moisture, airflow, building materials, and occupant habits to form a complete picture of your indoor environment. Whether your concerns are focused on a single bathroom or spread across a basement and attic, a systematic approach prevents guesswork and helps you act confidently on the results. If you prefer to have a professional lead the way from the outset, you can schedule a comprehensive mold inspection and follow along step by step as the evaluation unfolds.
Bloomfield’s homes are diverse. Some feature stone foundations and plaster walls; others have modern framing and tight building envelopes. Each responds differently to seasonal humidity, winter condensation, and storm-driven rain. A strong inspection process adapts to these variables while keeping a consistent, building-science framework at its core.
Step 1: Intake and Goal-Setting
The process begins with a conversation. The inspector will gather your history of water events, odor locations, and seasonal patterns. You will be asked about recent renovations, HVAC performance, windows that sweat in winter, or bath fans that seem underpowered. Setting goals clarifies whether the focus is a single area or a whole-home assessment and whether optional testing might be relevant.
Step 2: Exterior Reconnaissance
Moisture control starts outside. The inspector will walk the perimeter to review grading, gutters, downspouts, siding, and window details. They will look for roof penetrations that could admit water, as well as landscaping or hardscaping features that may send runoff toward the foundation. This context shapes how interior findings are interpreted, especially in basements and first-floor exterior walls.
Step 3: Interior Visual Survey
Inside, the inspector notes visible staining, musty odors, and temperature differences. Common Bloomfield focus areas include basement perimeter walls, under-sink cabinets, laundry corners, and bathrooms. Observations here inform where to measure moisture more precisely, and whether thermal imaging may reveal patterns behind surfaces.
Step 4: Moisture Mapping and Instrumentation
Next comes verification. Moisture meters—pin or pinless—are used on suspect areas to quantify dampness. Thermal imaging can identify colder regions that signal wet insulation, air leakage, or condensation. Hygrometers provide spot checks of indoor relative humidity and temperature to understand whether conditions support surface moisture or microbial growth.
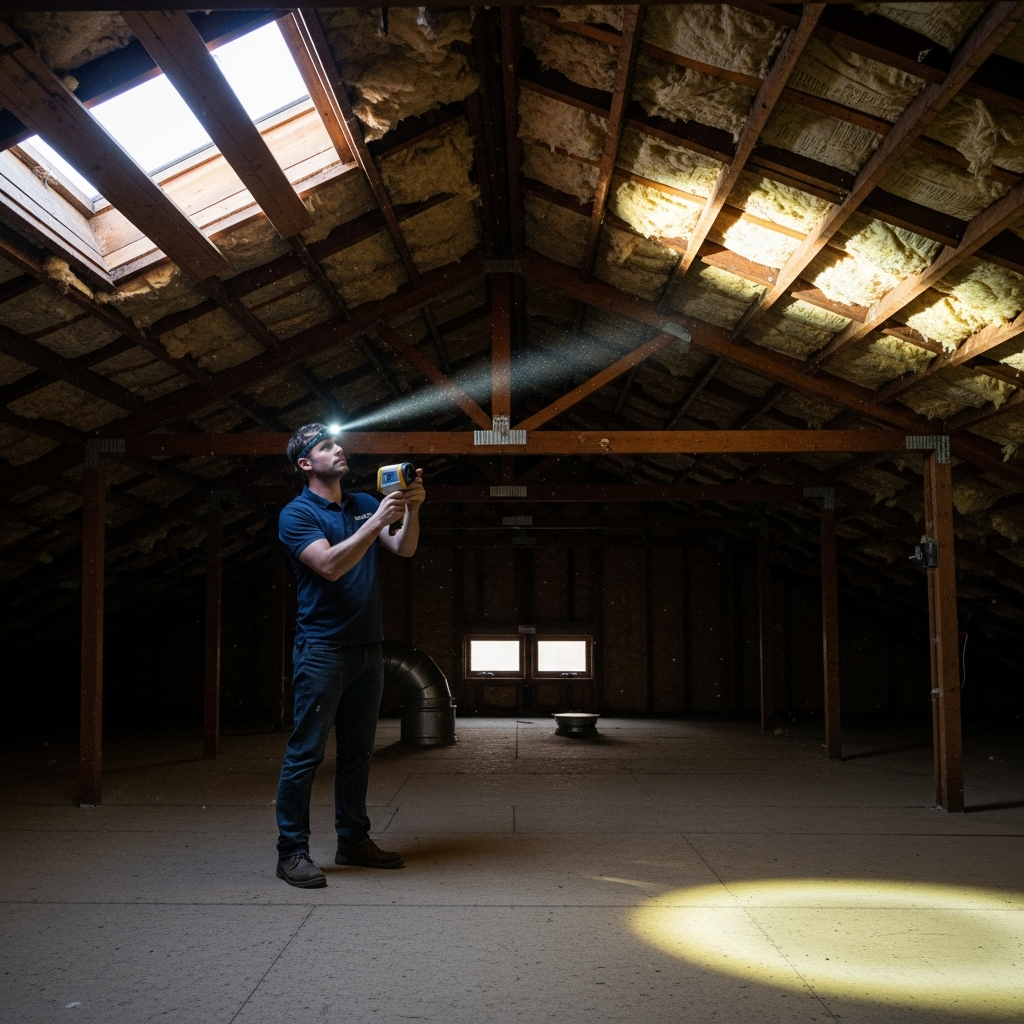
Step 5: Attic and Ventilation Assessment
Attics deserve special attention in Bloomfield, where ventilation mismatches are common. The inspector will evaluate intake at soffits and exhaust at ridge, roof, or gable vents, as well as look for bypassed indoor air at recessed lights, chases, and hatches. Bathroom exhaust ducts are checked to confirm they terminate outdoors and are insulated where needed. Roof sheathing, rafters, and fasteners are examined for discoloration or rust that can indicate chronic condensation.
Step 6: HVAC and Ductwork Review
Because the heating and cooling system moves air throughout the home, it is crucial to understand how it may distribute moisture or particulates. The inspector may look at air handler cleanliness, condensate management, filter fit, and ductwork integrity. Return and supply balance is considered, as blocked returns or undersupplied bedrooms can disturb airflow patterns and contribute to humidity pockets.
Step 7: Targeted Sampling When Warranted
Sampling is not a default. It is used when it will clarify uncertain or disputed observations, document conditions relative to outdoors, or verify the type of material on a stained surface. If sampling is proposed, you will hear why it is helpful and how results will be integrated into the final report. In many cases, thorough visual and moisture diagnostics provide the answers you need without additional tests. When appropriate, a professional mold inspection combines data points—visual, instrumental, and lab—into a cohesive narrative.
Step 8: Safety and Courtesy During the Visit
Inspections are generally non-invasive and respectful of the household. The inspector will keep tools organized, minimize moving personal items, and communicate if temporary access adjustments are necessary. Pets should be secured, and occupants can remain home throughout the process.
Step 9: Interpreting Findings in Context
A standout inspection does more than list observations. It explains how building components and occupant habits interact. For example, a basement corner with recurring dampness might connect to downspout discharge too close to the foundation, cardboard boxes stored tight to cool walls, and summer humidity levels. Linking cause and effect transforms a list of symptoms into a roadmap for prevention.
Step 10: Reporting and Recommendations
The final deliverable typically includes a summary of goals, annotated photos, moisture readings, and clear explanations. If sampling occurred, results are placed in plain language with limitations noted. Recommendations are prioritized to focus first on source control, then on ventilation, air sealing, and maintenance habits that create durable improvements.
Homeowner Preparation Checklist
- List odor locations and the seasons or weather when they are strongest.
- Clear under-sink cabinets and basement walls for better access.
- Replace or clean HVAC filters; confirm returns are not blocked.
- Test bathroom and kitchen exhaust fans for adequate airflow.
- Secure pets and unlock interior doors to streamline movement.
What Not to Expect
- Instant conclusions without context. Good inspectors reserve judgment until the full picture is clear.
- Sampling for its own sake. Tests are purposeful, not automatic.
- One-size-fits-all advice. Recommendations should reflect your home’s design and routines.
Follow-Up and Seasonal Monitoring
Conditions change with the weather. After implementing recommendations, monitor during key seasons—spring rains, summer humidity, and winter cold snaps. Track any improvements or recurring issues. Consider a follow-up assessment if significant changes are made to ventilation, insulation, or drainage, or if new symptoms appear.
Frequently Asked Questions
Q: How long will the inspection take?
A: Duration depends on the number of areas examined, the level of documentation, and access. Focused visits are shorter; comprehensive whole-home evaluations take longer.
Q: Will walls be opened?
A: Inspections are typically non-invasive. If intrusive checks are considered, they will be discussed with reasons, risks, and homeowner permission.
Q: Do I need to leave the home?
A: No. The process is designed to be safe and minimally disruptive. You are welcome to accompany the inspector and ask questions.
Q: Is sampling required to confirm a problem?
A: Not always. Many conclusions rely on visual and moisture evidence. Sampling is recommended when it will guide decisions or verify uncertain findings.
Q: What if the report identifies multiple concerns?
A: Start with source control, then address ventilation and air sealing. Tackle actions in priority order and re-check conditions seasonally.
Q: Can this process help with future renovations?
A: Yes. An inspection report becomes a planning tool, highlighting upgrades—like improved ventilation or air sealing—that can be integrated into remodeling.
Take the Next Step with Confidence
A step-by-step mold inspection gives you clarity, not confusion. By preparing your home, understanding the sequence, and selecting a professional who explains each decision, you will convert concerns into a practical plan. When you are ready to proceed, schedule a thorough mold inspection and move forward knowing exactly what will happen and why it matters.