
Why Apartments in Bloomfield, NJ Need a Purpose-Built Mold Removal Checklist
Apartment living in Bloomfield, New Jersey brings unique building dynamics that influence how mold appears, spreads, and is resolved. Shared walls, stacked plumbing, common ventilation shafts, and limited access to exterior walls all change the playbook for safe remediation. Whether you rent or own a condo, this detailed checklist is designed to help you protect your health, communicate effectively with building management, and handle small, well-defined problems safely. At the same time, it clarifies when to request professional mold removal so that complex, multi-unit concerns do not become recurring headaches for you or your neighbors.
Bloomfield’s climate—humid summers, heavy rains in spring and fall, and cold winters—challenges older masonry buildings and newer mid-rise complexes alike. Bathrooms with interior exhaust paths, laundry closets with marginal ventilation, and window AC units that drip condensate can all seed hidden growth. A systematic approach is the best defense: identify moisture, protect occupants, coordinate with building stakeholders, and confirm dryness before you rebuild or repaint.
Step 1: Identify and Prioritize Moisture Sources
Start with your senses: is there a musty odor concentrated in a particular room or behind furniture? Do you see staining on drywall near plumbing stacks, under sinks, around tub surrounds, or at the corners of exterior walls? Is there condensation on windows or metal supply lines? In apartments, ceiling stains are common because neighbors’ leaks can wet your unit from above. If a tub overflow or dishwasher leak occurred upstairs, document it quickly with photos and timestamps and notify management in writing. Moisture meters and simple hygrometers add clarity if you have them, but even without tools, you can track humidity trends and observe whether stains grow after rain or after showers.
Control what you can control immediately. Shut off local water supplies to leaking fixtures, place a bucket under drips, and use towels to prevent spread to carpets and baseboards. If you suspect a shared system is involved—like a roof drain or main supply line—contact building management promptly. In multi-unit buildings, rapid communication is half the battle because one unresolved source can undermine every cleanup step that follows.
Step 2: Protect People, Pets, and Personal Property
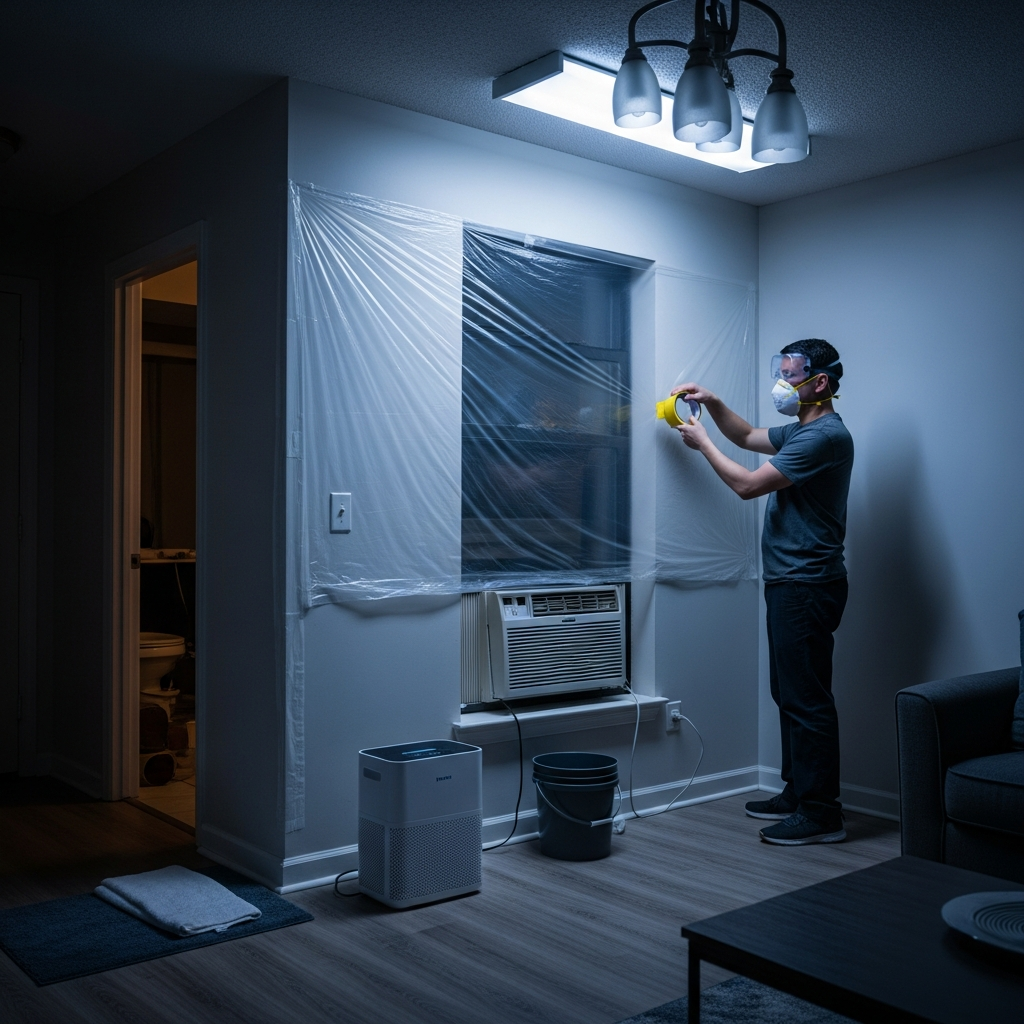
Before any cleanup, plan for occupant safety. Keep children, seniors, people with respiratory conditions, and pets away from work zones. Close doors and tape edges to limit air transfer. Turn off HVAC serving the affected room if possible, or seal nearby supply and return registers to limit cross-contamination through ductwork. Assemble personal protective equipment: non-vented goggles, gloves, and an N95 or better respirator. Stage heavy-duty trash bags, clean cloths, and a HEPA vacuum near but not inside living areas where family members are present. Move personal items—soft furnishings, paper goods, and textiles—out of the immediate area so you have clear access to surfaces and can reduce what might absorb moisture or spores.
Because apartments share air pathways through corridors and shafts, ask management whether your building allows temporary negative air setups that exhaust to the outdoors. Even a small box fan with a pre-filter positioned in a window facing away from walkways can help retain dust in the work area. Always follow building policies and fire safety rules; a coordinated approach keeps neighbors safe and avoids accidental alarms.
Step 3: Containment and Housekeeping in Tight Quarters
In smaller apartments, containment must be compact and efficient. Use painter’s tape and plastic to create a floor-to-ceiling barrier around the immediate work zone, leaving a small flap for entry. Place a damp towel or tacky mat at the threshold to capture dust from footwear. Keep tools and waste bags inside containment, and wipe them before removal. HEPA vacuum visible dust on floors, window sills, and baseboards before any wet cleaning to reduce what goes airborne as you scrub. If your building permits, keep a portable HEPA air purifier running inside the contained area during work to capture fine particulates released during cleaning and demolition of small sections.
Bag waste immediately. Double-bag small debris, twist and tape the inner bag, and tie the outer one. Plan transport during quieter elevator hours if you live above ground to minimize inconvenience for neighbors, and wipe the outside of bags if they get dusty. A considerate approach maintains goodwill with building staff and residents, which often speeds approvals for any needed repairs.
Step 4: Cleaning and Limited Removal
Begin with HEPA vacuuming across affected surfaces to collect loose spores. For non-porous and many semi-porous surfaces—tile, sealed concrete floors, painted wood—use a detergent solution to wash and rinse. Dry immediately with fans and dehumidification, ensuring that windows and doors in the work area remain mostly closed to prevent outdoor humidity from re-wetting surfaces. For porous materials like soggy drywall or ceiling tiles that remained wet more than a day or two, targeted removal is typically the safest path. Cut back to sound material several inches beyond visible damage. In apartments, be particularly careful to avoid cutting into shared plumbing stacks or electrical chases; when in doubt, call management or a professional before opening cavities.
Where staining on structural wood or subfloor remains after cleaning, gentle sanding may help, paired with local HEPA vacuuming and damp wiping. Only sand dry, structurally sound materials, and consider whether building rules allow such work; sometimes a maintenance team or outside contractor must perform it. Pause mid-project to reassess humidity and odor. If the area does not trend dry or if stains recur quickly, escalate to management and discuss professional mold removal for your unit and any connected spaces.
Step 5: Drying and Verification Across Shared Systems
Run a dehumidifier sized for your space and maintain closed windows during humid weather so you are not fighting outdoor moisture. In bathrooms, keep exhaust fans running 20–30 minutes after showers and verify with management that fans vent outdoors, not into shafts that might reintroduce moisture. Confirm that window AC units drain properly and that condensate does not wet sills or drip onto drywall below. Before repainting or reinstalling finishes, wait until humidity stabilizes below roughly 50 percent for several days and surfaces no longer feel cool and damp to the touch. If you have a moisture meter, compare readings in the treated area to known dry parts of your home to validate progress.
Step 6: Rebuild with Moisture-Smart Choices
When it is time to rebuild, choose materials that help you in the long run. Mold-resistant drywall in bathrooms, tile backer boards in showers, high-quality silicone or hybrid sealants at wet seams, and semi-gloss paints that tolerate frequent cleaning can all extend the life of your repairs. Leave a slight gap between drywall edges and floors to avoid wicking from minor spills, and use exhaust fans consistently. In laundry closets, ensure dryer vents are clean and terminate outdoors. In kitchens, use range hoods when boiling water and keep cabinet interiors under sinks dry and ventilated by checking for slow drips and using trays to catch small leaks before they spread.
Communication and Documentation: Your Apartment Ally
Keep a dated record of leaks, odors, and visible changes. Photos, emails to management, and maintenance tickets create a shared understanding of responsibility and timing. If your upstairs neighbor had a bath overflow that stained your ceiling, your documentation supports coordinated repairs and may reduce disputes. When professional help is involved, ask for a clear scope of work, containment plan, and drying verification. In multi-unit contexts, clarity saves time and ensures that one apartment’s solution does not become another’s problem.
Frequently Asked Questions for Apartment Residents
Q: My bathroom has no exterior window. How can I reduce humidity? A: Run the exhaust fan during showers and for 20–30 minutes afterward, keep the door slightly open once you finish to promote airflow, and consider a small, apartment-safe dehumidifier if humidity remains high. Confirm with management that the fan vents outdoors.
Q: A ceiling stain appeared after my upstairs neighbor’s leak. What should I do first? A: Photograph the stain, notify management immediately, and ask when repairs will be made above. Do not repaint until you confirm the source is stopped and the ceiling has dried to normal levels. If growth appears, request an inspection and remediation plan.
Q: Can I clean mold myself in a rental? A: For small, well-defined patches tied to condensation or minor leaks that have been fixed, many tenants can perform careful cleaning with PPE and containment. For widespread growth, sewage-related incidents, or recurring leaks, ask management to arrange professional remediation.
Q: Will an air purifier fix my problem? A: A HEPA purifier can reduce airborne particles but cannot remove growth on surfaces or solve moisture issues. Use it as a supplement while you address the source, clean, and dry.
Q: How do I avoid conflicts with neighbors during cleanup? A: Communicate. Post a brief note near your door if you will be moving debris, schedule work during reasonable hours, and keep common areas clean. Coordination builds goodwill and speeds approvals if larger repairs are needed.
Q: How do I know when it is safe to repaint? A: Repaint when the source is resolved, humidity remains below about 50 percent for several days, there are no musty odors, and surfaces feel dry. When possible, verify with a moisture meter and use appropriate primers and finishes.
Your Apartment, Your Health: Take Clear Next Steps
With the right checklist—source control, occupant protection, containment, thorough cleaning, and verified drying—you can manage small problems confidently and know when to elevate to building management or a professional. If your situation calls for expert assessment, containment across shared systems, and comprehensive mold removal, connect with a trusted Bloomfield provider who understands multi-unit dynamics and will coordinate work to protect both your home and your neighbors’ homes.